Food Photography Tips for Awesome Food Travel Photos
Are you looking to improve your travel food photography? Do you want to learn how to take the best food travel photos or get photography tips to take stunning food photos in restaurants? If so, you are going to love our Food Photography Guide with easy-to-follow tips and tricks for beginners and advanced photographers, foodies and travelers.
Table of Content
This post may contain affiliate links, which means we earn a small commission if you purchase from them (no extra costs to you!). For details check our disclaimer.
Why Do We Love Travel Food Photography
Anybody who knows us knows that food, travel, and photography are a big part of our lives. We view food as an emotional experience that combines all of the senses, leaves us eager for more and creates beautiful memories. Even today, a particular smell or taste can transport me back to my childhood in a heartbeat.
We are the kind of travelers who always like to include in our itinerary as many food-related experiences as possible, from visiting local food markets to participating in cooking classes, taking a street food tour, and visiting as many restaurants as possible, of course.
We believe that you can learn so much about a country from its cuisine and food-related traditions. Therefore, we love exploring cultures through local food. The food reflects the history and the culture of every place you visit. Not to mention the fact that people are always so passionate about their food, so it’s easy to hear great stories and bond with locals over a local dish or while exploring a local market.
However, travel food photography can be tricky. It took us a while to improve our food travel photos, and over the years, we have learned (and are still learning) many tricks that make a difference. If you are anything like us, and you are always taking food photos while traveling, you will enjoy these easy (and not so easy) food photography tips, tricks and ideas to improve your travel food photos.
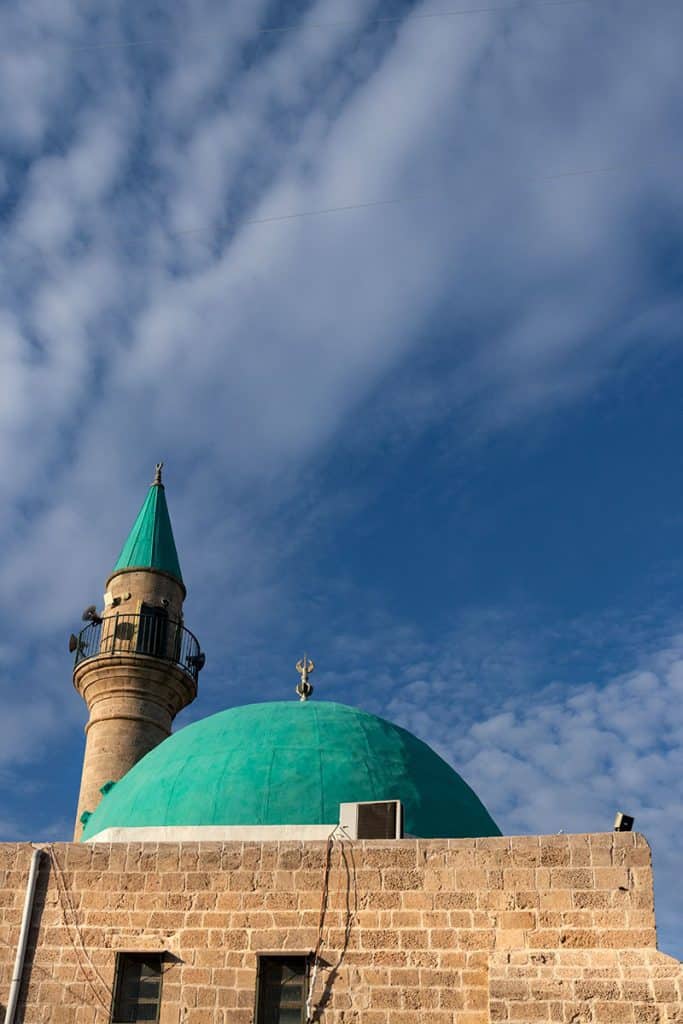
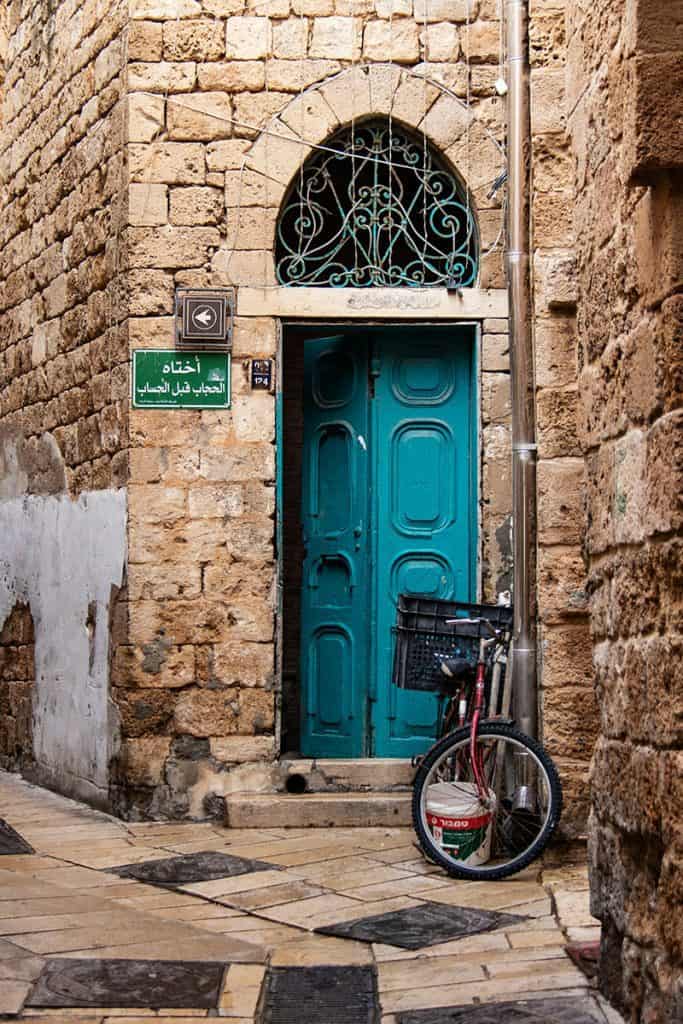
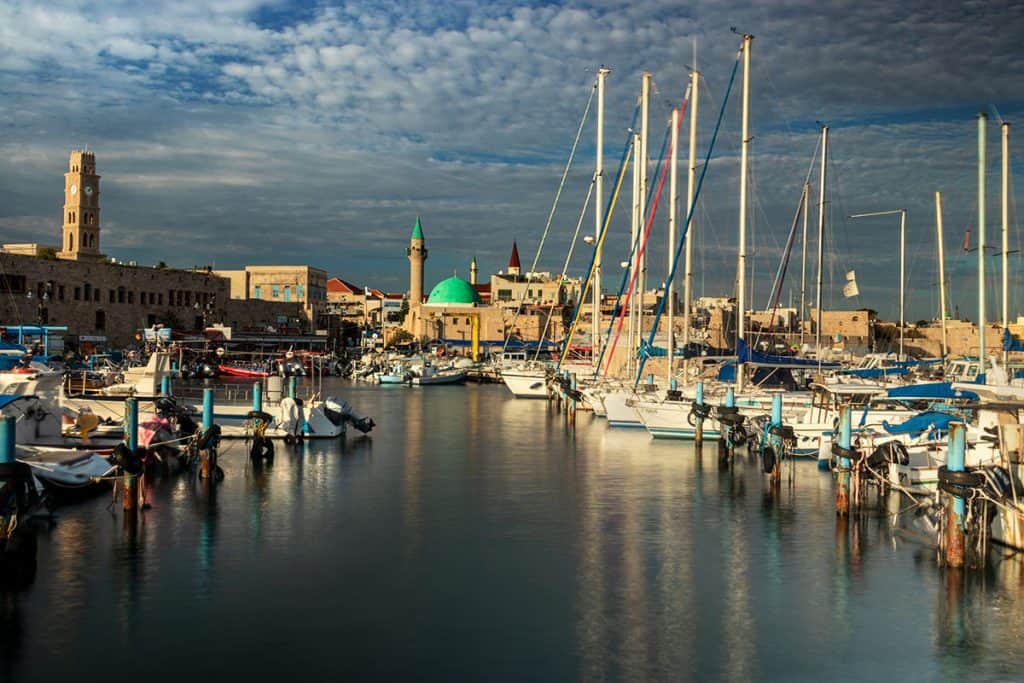
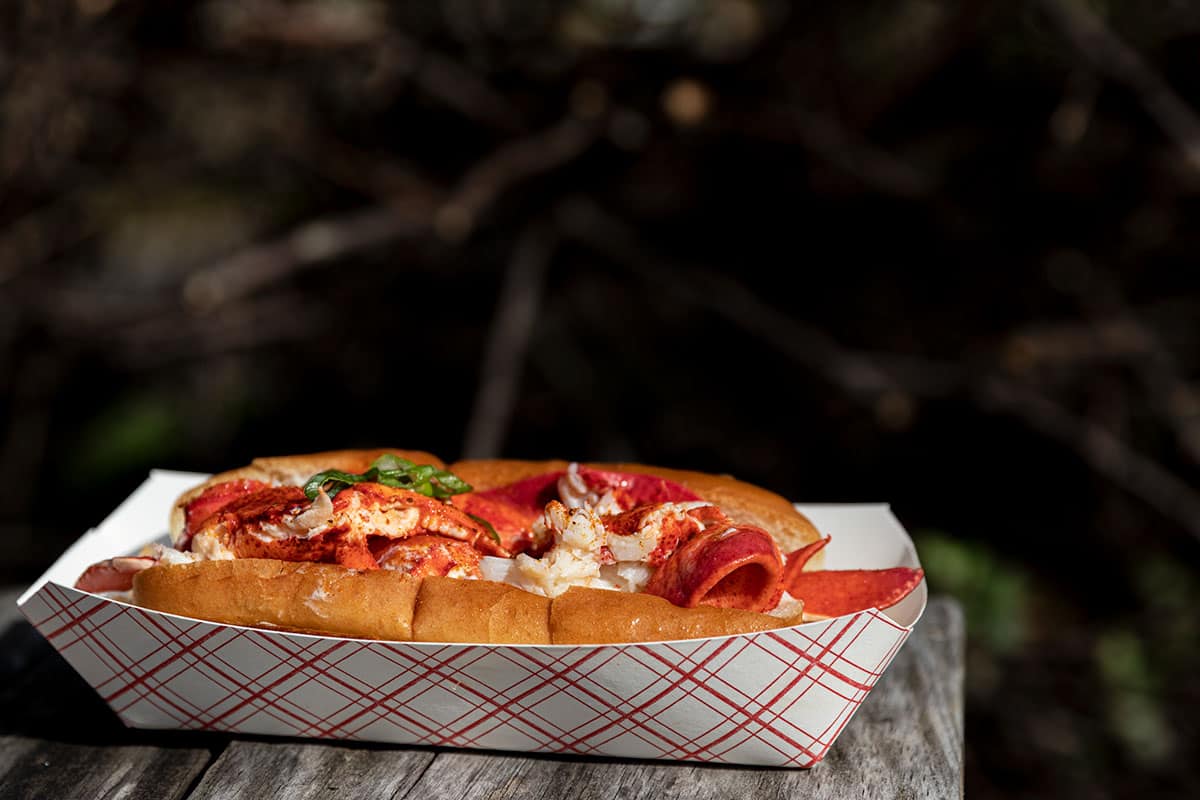
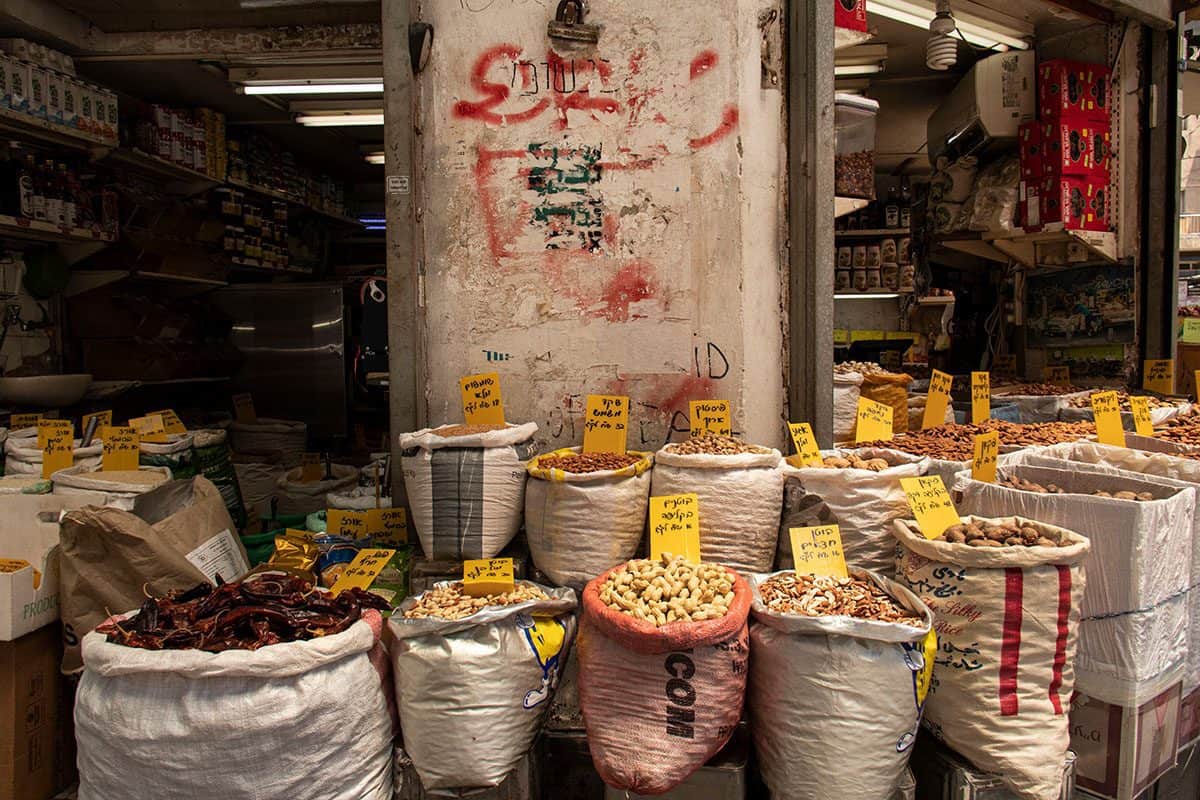
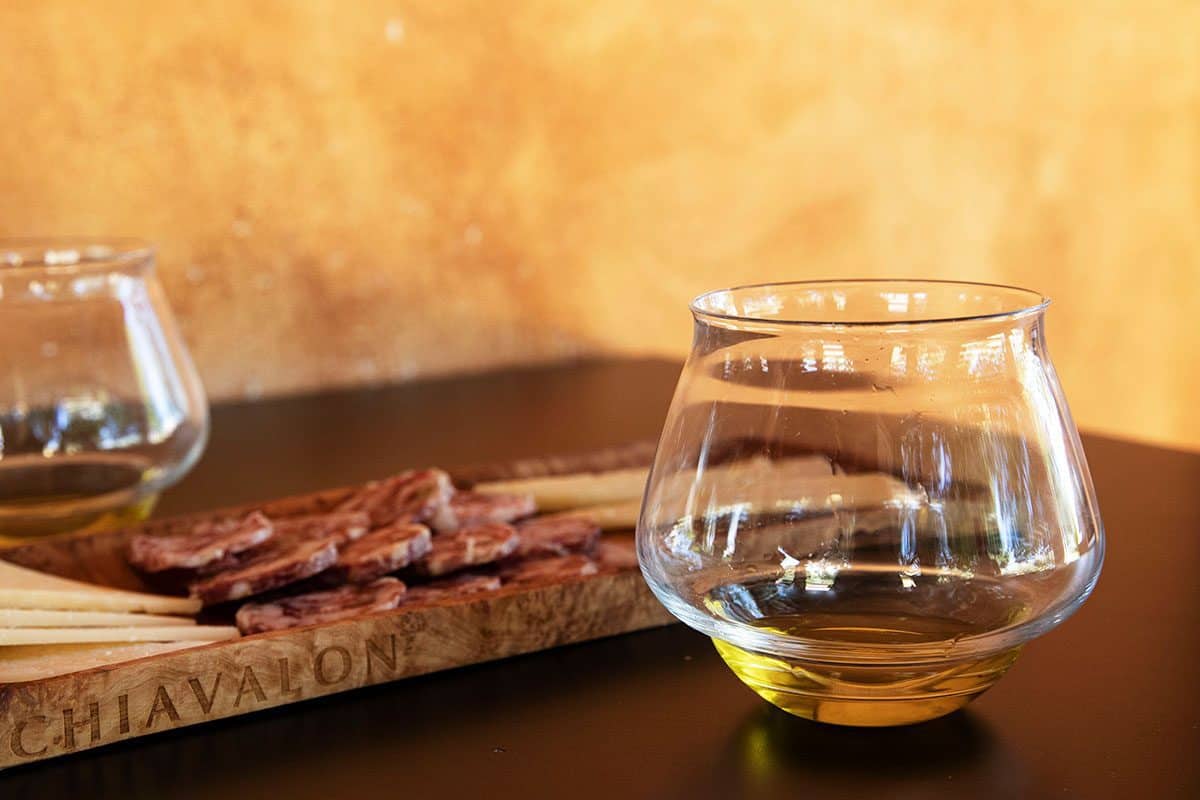
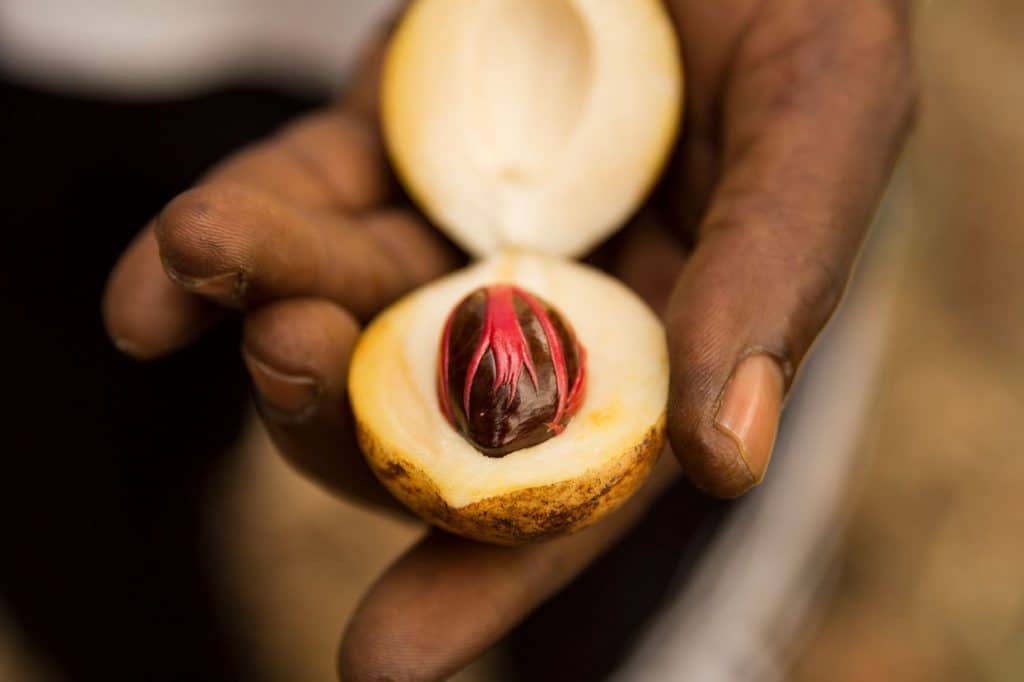
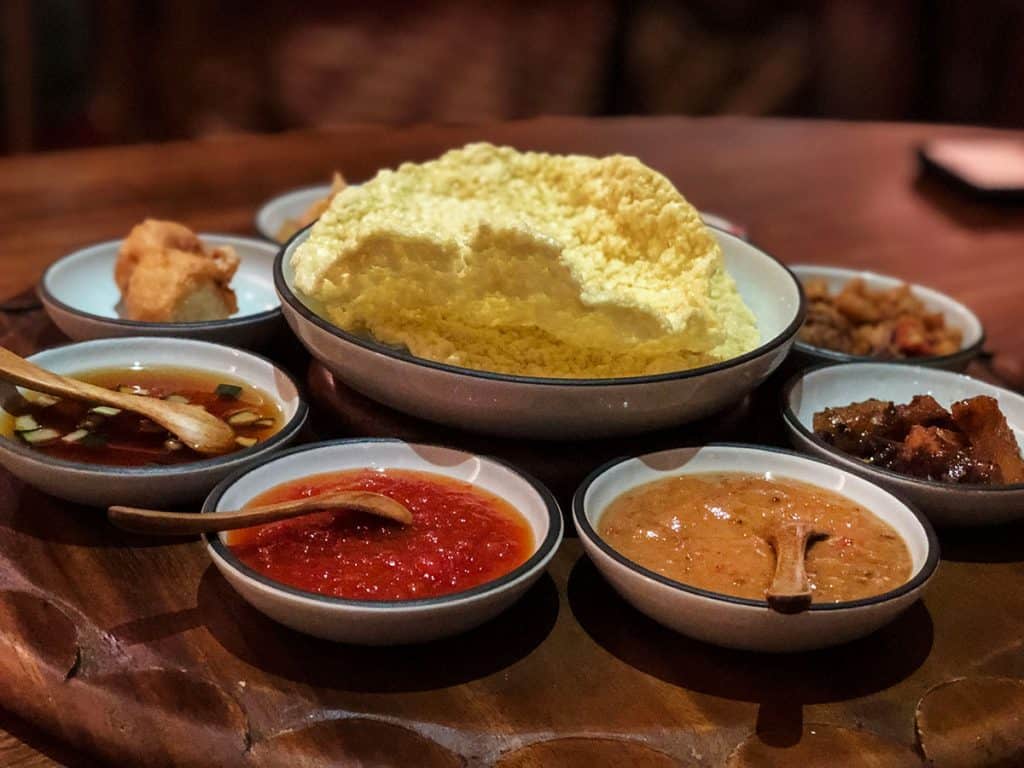
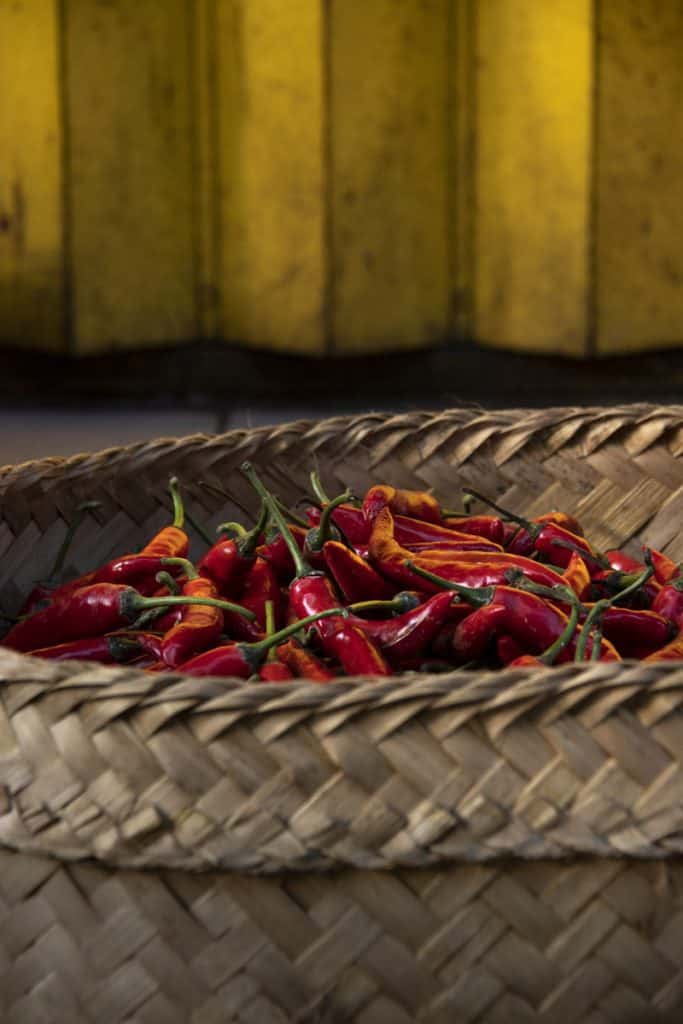
Showcase the place you’re visiting. It’s not just about the food… Think about the colors and the atmosphere. We use collages to capture the essence of our destination.

Food Photography Vs. Travel Food Photography
So, what is travel food photography, and why is it different from traditional food photography? To put it simply, as a travel food photographer, you have less control of your environment, and you have much less time to photograph your food. These are some of the difficulties of taking great food photos while traveling:
- Light – Professional food photographers can control their light source and their set while in travel food photography, you need to adapt yourself to the environment.
- Speed – When you attempt to take awesome food photos while traveling, you need to be quick about it. You can’t spend 45 minutes photographing just one dish.
- No fancy equipment – As a traveler, you can’t carry with you artificial lighting, macro lenses and photogenic backdrops. Without all of these, food photography in restaurants can be tricky.
- Improvising & creativity – As travel food photographers, we need to improvise all the time. Adapt to the setting, the light, the dishes we photograph, and (sometimes) less-than-sympathetic diners.
As we all know, food photography is very trendy, but you need to learn some tips and tricks to make your food photos instagrammable. Not every dish looks photogenic; however, learning to work with light and angles can take your restaurant food photography to the next level. The outcome will be picture-perfect photos and a photogenic Instagram feed or blog.
Top Food Photography Tips
to Improve Your Travel Food Photography Skills
General Food Photography Tips for Beginners
If you don’t know why you can’t get a decent food photo when you travel, or all of your restaurant food images don’t look quite right, check out our food photography tips for beginners.
Food Photography Tip #1 Shoot Before You Eat
It seems obvious enough, but I can’t tell you how many times we wanted to photograph a dish, and once it got to our table, we forgot all about the photography part and just dived right in. Some of our earlier travel posts have almost no food photos in them precisely for this reason.
Food Photography Tip #2 Know Your Camera
No matter if you are a beginner or an advanced photographer or if you are shooting with a professional camera or with your phone, you need to know the best settings for your food shots. Many mobiles have unique settings to shoot food, or you can use their manual mode to get the most out of the dish or scene you are shooting. If you have a professional camera, you really do need to learn some basic settings even if you are not a professional photographer to make the most out of your camera. Otherwise, why bother buying such an expensive camera if you don’t know how to use it? Regarding the special settings to shoot food, continue reading this food photography guide.
Food Photography Tip #3 Be Quick
Once you know your camera inside and out, you can shoot food quickly, which is especially important when taking food photos while traveling. First, you want to capture the dish and still enjoy it while it is warm. With cold dishes, you can take your time a bit more, but you don’t want to disrupt the diners around you. It can be annoying when someone snaps endless shots in a crowded restaurant, and in rush hours, you might get in the way of the waiters.
Important Travel Food Photography Tip – Always carry with you an extra battery and another memory card and make sure the batteries are fully charged and your lens is clean.
Food Photography Tip #4 Use Natural Light
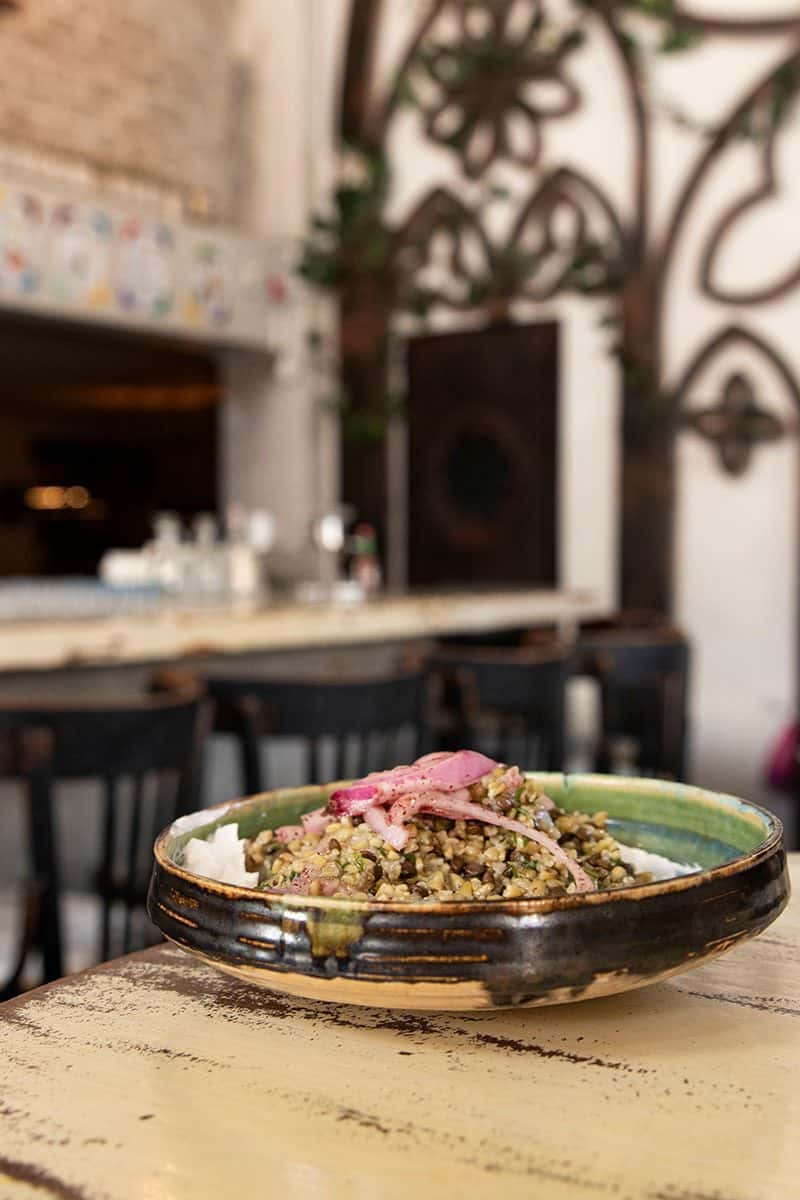
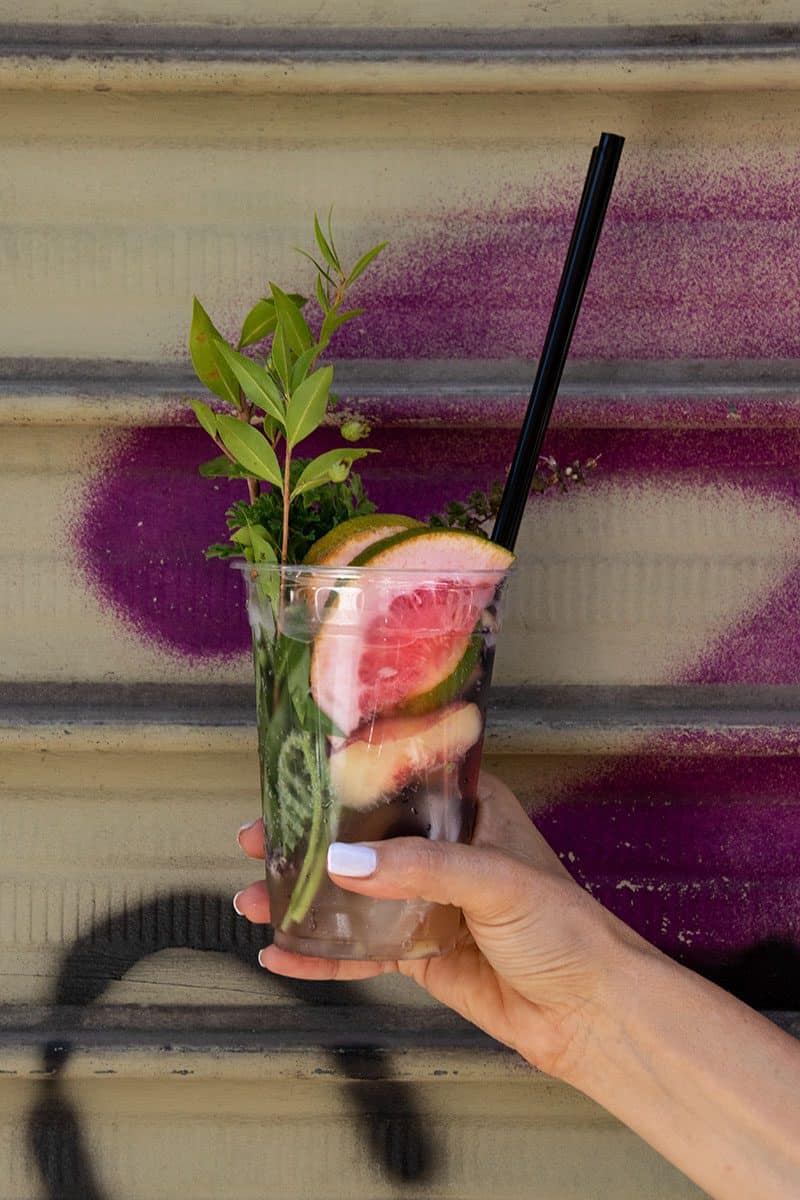
As a photographer, light is the most important thing you need to consider. Once you learn everything there is to know about light and correct exposures, you’ll notice a tremendous improvement in your photography. For now, all you need to know is that natural light is great for food photography and always better for food photos on the go while traveling.
Try and photograph your food in natural light but not in direct sunlight. Direct sunlight is not the most flattering light since it creates shadows. You need a diffused natural light, which means a cloudy day is perfect for photographing dishes outside. On sunny days, try to find a shaded spot that has enough light and a photogenic background.
Important Travel Food Photography Tip – Always think about the light conditions in relations to your main subject and the background. They need to have similar light conditions to be exposed correctly. For example, if you want to take a photo of an ice cream cone with the Eiffel tower, if the background is sunny, you need to place your ice cream cone in a bright spot as well, so both of them will be exposed correctly.
Food Photography Tip #5 Choose Your Location Wisely
Because your light source is so important, when sitting in a restaurant, make sure to ask for a table near the window or a table outside but not in direct sunlight.
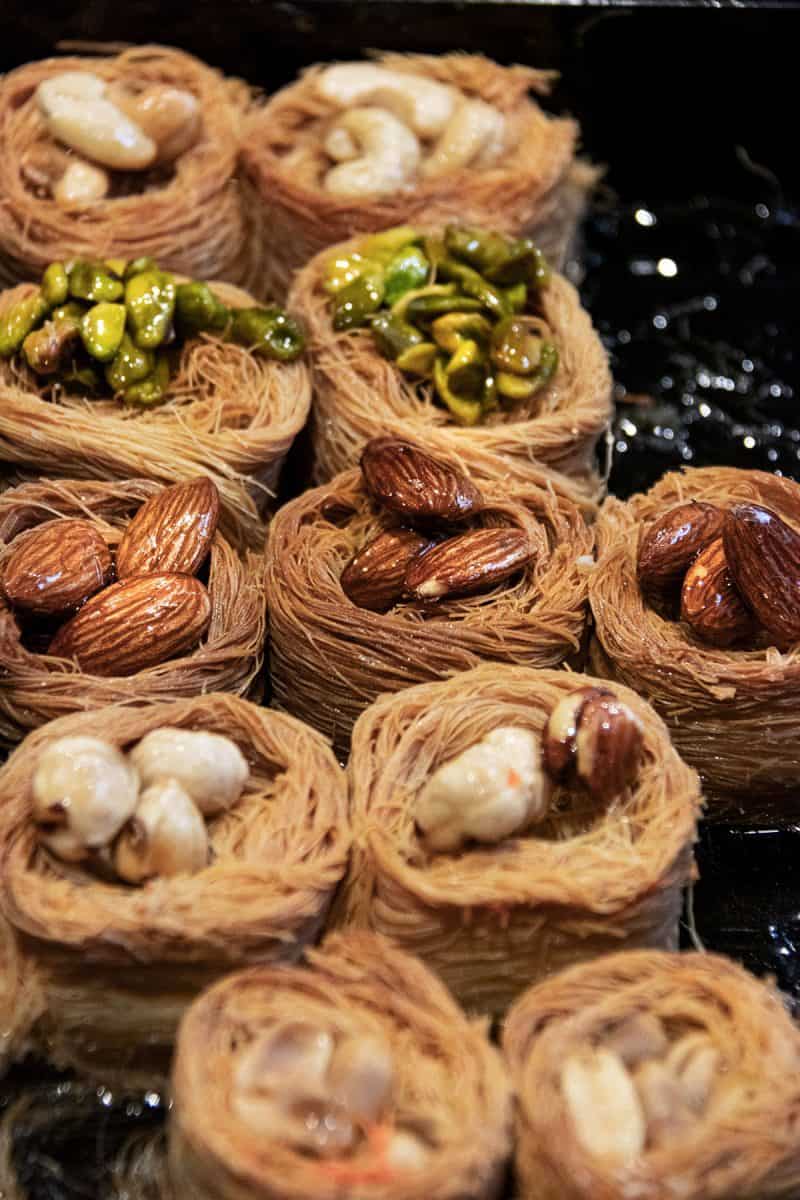
Food Photography Tip #6 Learn How to Shoot Food Low Light
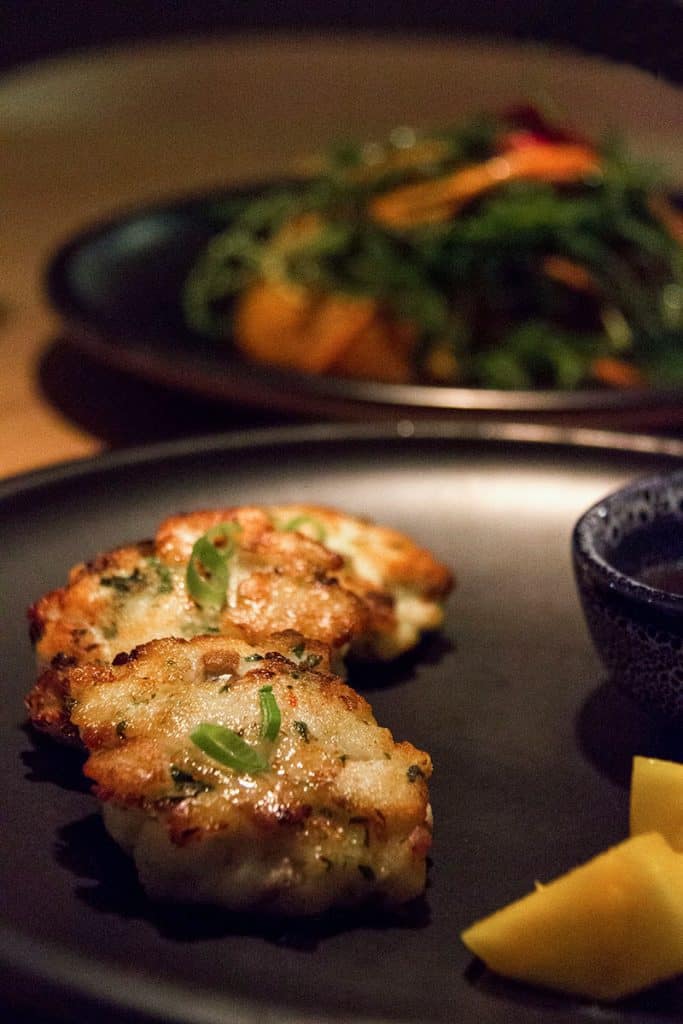
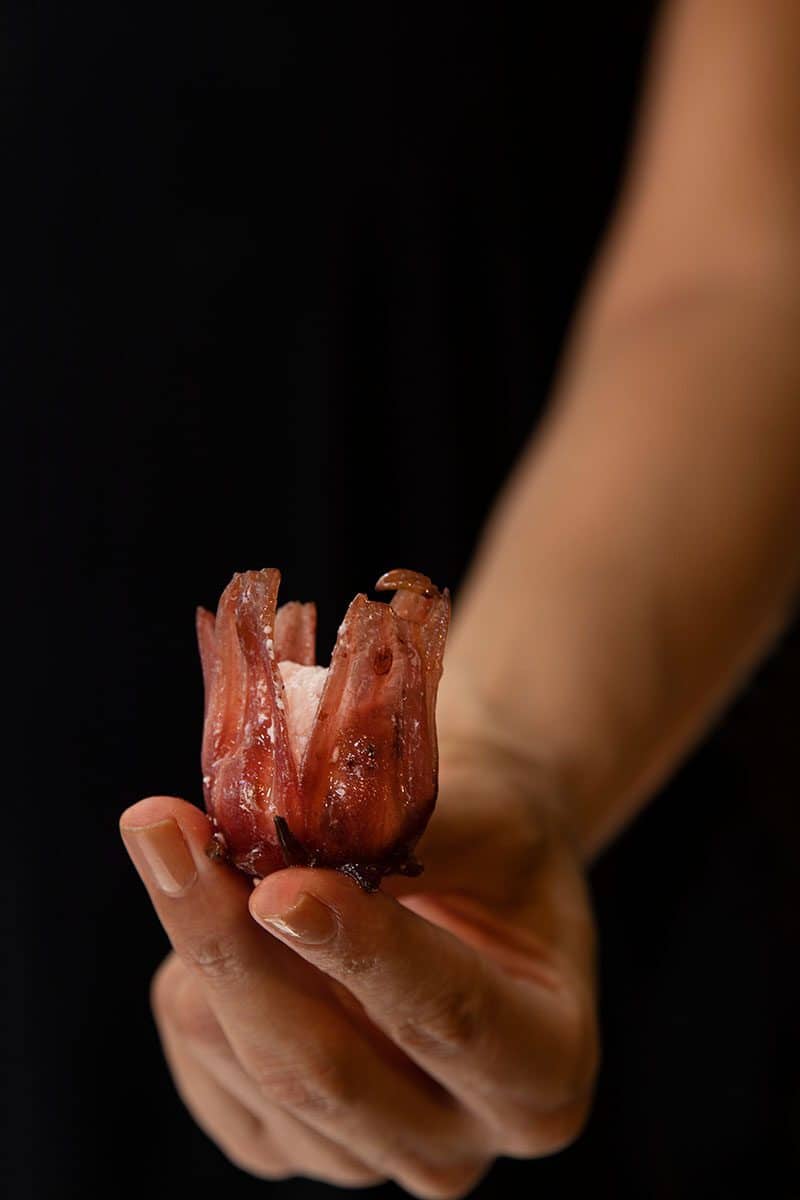
If you have no choice, you can take a good picture in low light. First, photograph the dish with your phone. Many times, mobile phones do a better job in low light. Second, try utilizing any light sources in the restaurant. Place the dish close to a candle or any other artificial light source. Third, the key to low-light photography is to keep the camera as steady as possible. Therefore, in low light, you can always use a tripod. Tripods are not the most convenient thing to use (even the small and light-weight Gorillapod) but they can help you take a better picture in low light situations.
If you don’t have a tripod with you, depending on the light conditions, you can try keeping your hands steady by placing your elbows on a table/steady surface. If everything else fails, you can try using a flash, but the camera’s flash usually doesn’t cut it. You can use an off-camera flash with a diffuser or bounce the light from the ceiling/wall. We will talk more about the technical stuff in our advanced food photos tips.
Food Photography Tip #7 What's Going on Behind your Subject
Since the dish or food you photograph is the hero of your shot, make sure the background doesn’t ruin your picture. Many times, after taking the first shot, we choose to photograph a dish from a different angle to get a more photogenic background.
Food Photography Tip #8 Shoot RAW
Shooting RAW will give you more options while you edit your food travel photos. You could salvage some of your under-exposed/over-exposed images. However, keep in mind the RAW file size is much larger than shooting the JPEG file size. If you have a good camera, you probably have the option to shoot in RAW files. Many mobiles also give you such an option, and so are some photography editing apps like the mobile version of Lightroom (DNG is RAW).
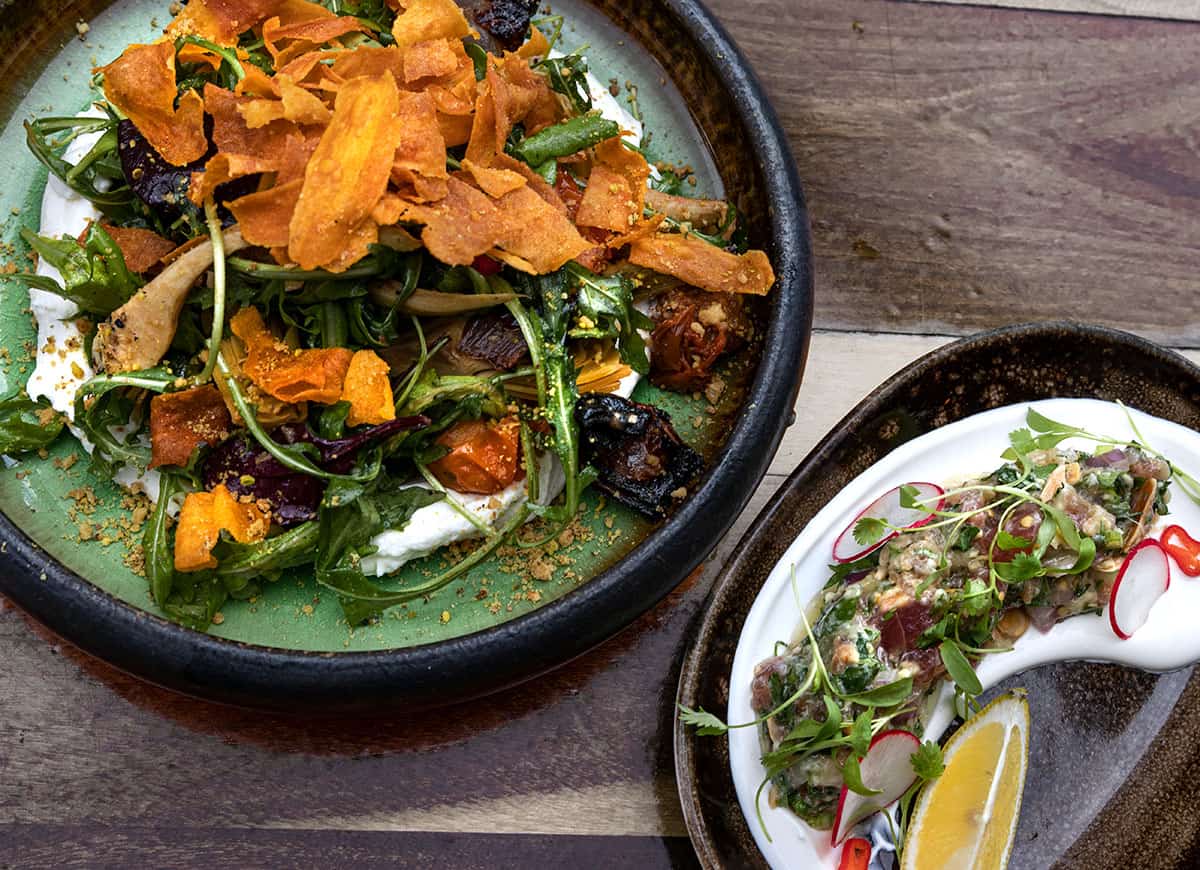

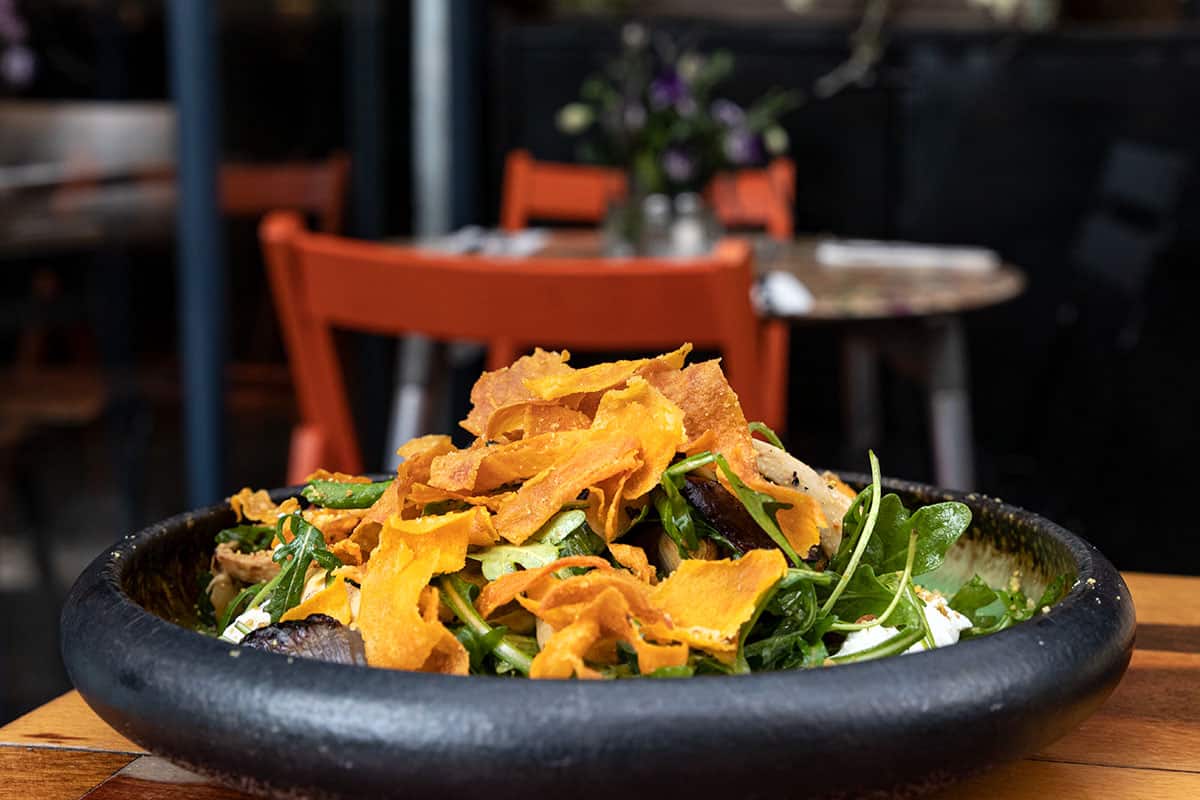
Food Photography Tip #9 White Balance (WB)
Have you ever wondered why some of your food travel photos have a yellow/red/green/blue color cast? It’s because you (or your camera) chose the wrong WB while taking the picture. White balance is a digital photography means which adjusts colors so that the image captured looks more natural, and the white parts in it would look white (vs. grey, blue etc.). WB is affected by the light sources around us. You can choose to use the automatic WB setting in your camera, but sometimes the camera gets it wrong. Learn how to choose the appropriate WB according to the lighting conditions or learn how to set a custom WB in your camera.
Important Travel Food Photography Tip – Some mobiles allow you to choose the exact WB you want through the PRO option. If not, through the mobile version of Lightroom, you can set a custom WB.
Food Photo Tip #10 The Holy Trinity - Shutter Speed, ISO and Aperture
We can’t have a food photography guide without trying to explain about Shutter Speed, ISO and Aperture. This is just a quick guide to help you understand the importance of each element. The combo of these three elements is responsible for your exposure.
ISO – You can use ISO to help your camera take food pictures in low light. However, with higher ISO, your food photos will have some grain or “noise” in them, especially if you look at them on your PC. Try to use the lowest ISO you can (usually 100 or 200). You can bump it up in lower light situations but do a few test shots to learn how your camera is handling higher ISO. Once you have a number in mind, try not to use any higher ISO number than your camera can handle.
Aperture – Aperture refers to the opening in the lens through which light enters the camera. The numbers of the aperture are called “f-stops”. These numbers indicate how open or closed your aperture is. The smaller numbers (such as f2.8) indicate an open aperture – meaning a bigger opening through which more light enters the camera. The higher numbers (such as f13) indicate a closed aperture, meaning less light enters the camera.
Sutter Speed – Shutter speed refers to the time the camera shutter stays open, allowing light to come in. A value of 1/15 (1/15th of a second) means more light enters the camera than in 1/500.
Shutter Speed, Aperture, and ISO, are the most important settings to learn about if you want to control your exposure. Each of them can also help you manage other things like freezing elements or choosing a shallow or deep depth of field, so it’s worth to learn more about them. Keep reading our food photo tips to learn more about depth of field.
Food Photo Tip #11 Learn How to Edit Your Food Travel Photos
Editing is a crucial stage, so don’t skip it. You can even use Instagram or your phone editing tools and filters to improve your food images, and there are many more free editing apps you can use. Photoshop and Lightroom are the best choices, of course, if you know what you are doing, and you want to have total control over the editing process, but a simple editing app can do the trick too.
Food Photography Tips for Beginners and Advanced Photographers
Travel Food Photography Tips:
Composition, Food Styling & Artistic Choices
We’ve already mentioned understanding light is the key to improve your photography skills. Another key element is nailing your composition. Composition is a major subject in photography, and there are many elements that can affect your artistic choices and composition. We’ve listed some tips relating to composition, food styling, and artistic choices to help you improve your food travel photos.
Food Photo Tip #12 Learn Some Basic Composition Rules
Composition is everything. Learn about the Rule of Thirds or Leading Lines to know how to compose a more aesthetically appealing image. Nevertheless, sometimes it’s fun to break the rules. There are many beautiful food photos that don’t follow the rules.
Important Travel Food Photography Tip – Apply the grid option in your camera (DSLR or mobile phones). It will help you compose the shot according to the Rule of Thirds.
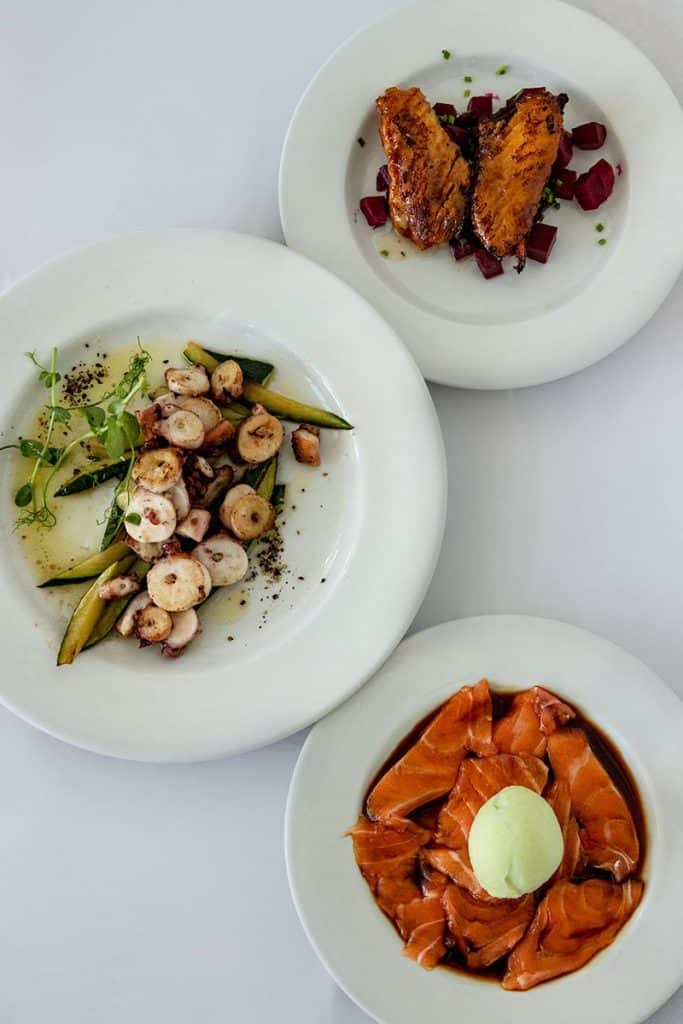
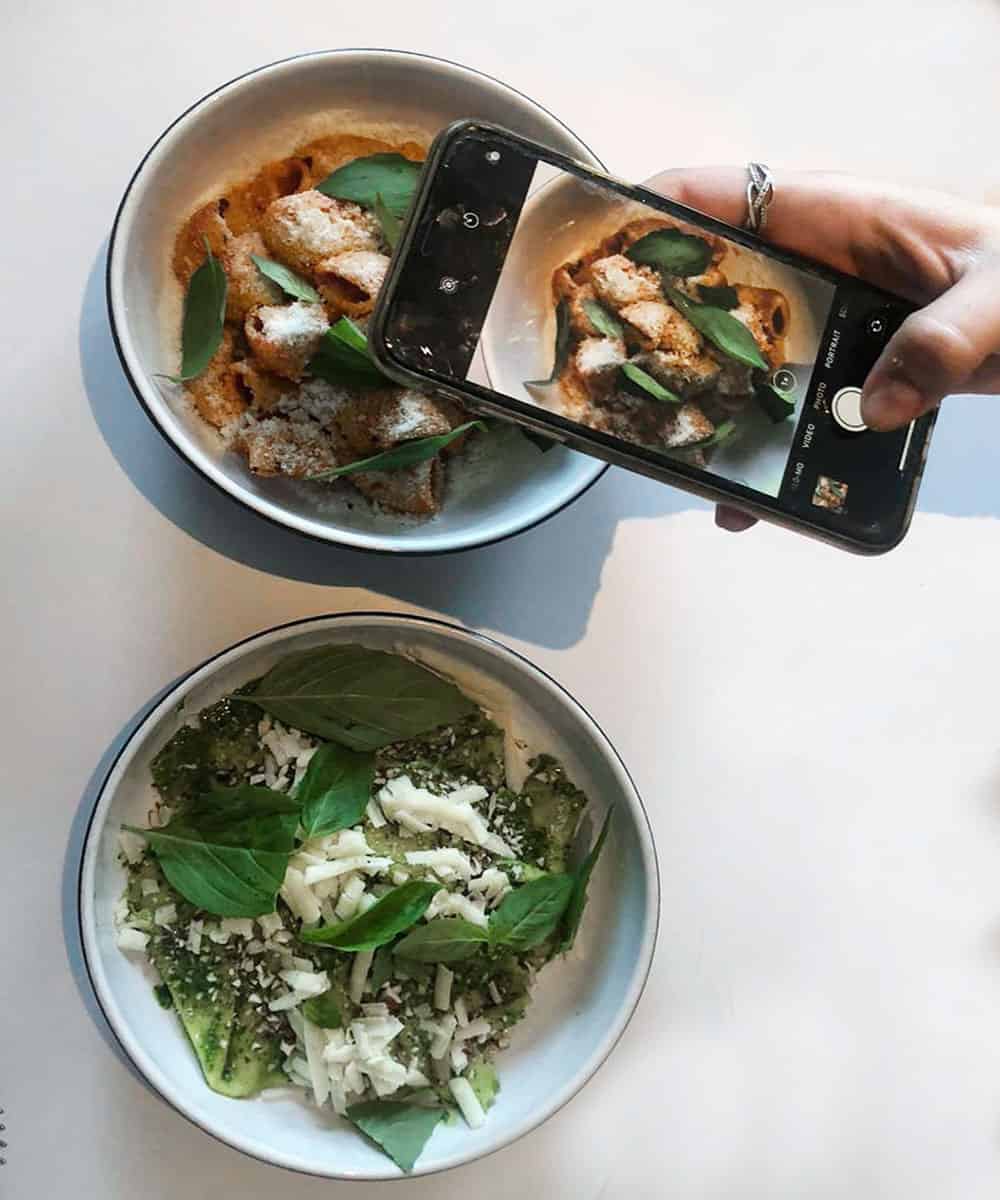
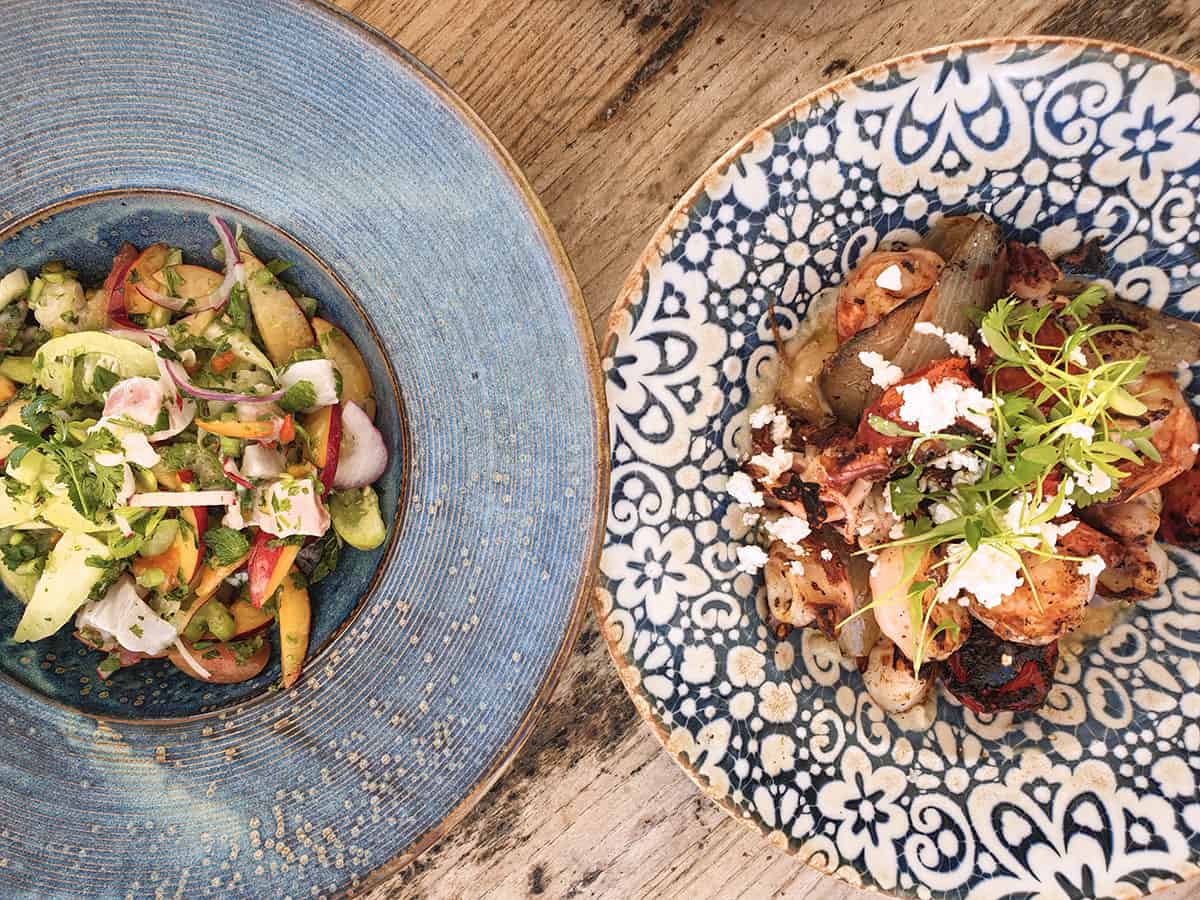
Food Photo Tip #13 Learn How to Nail the Flatlay
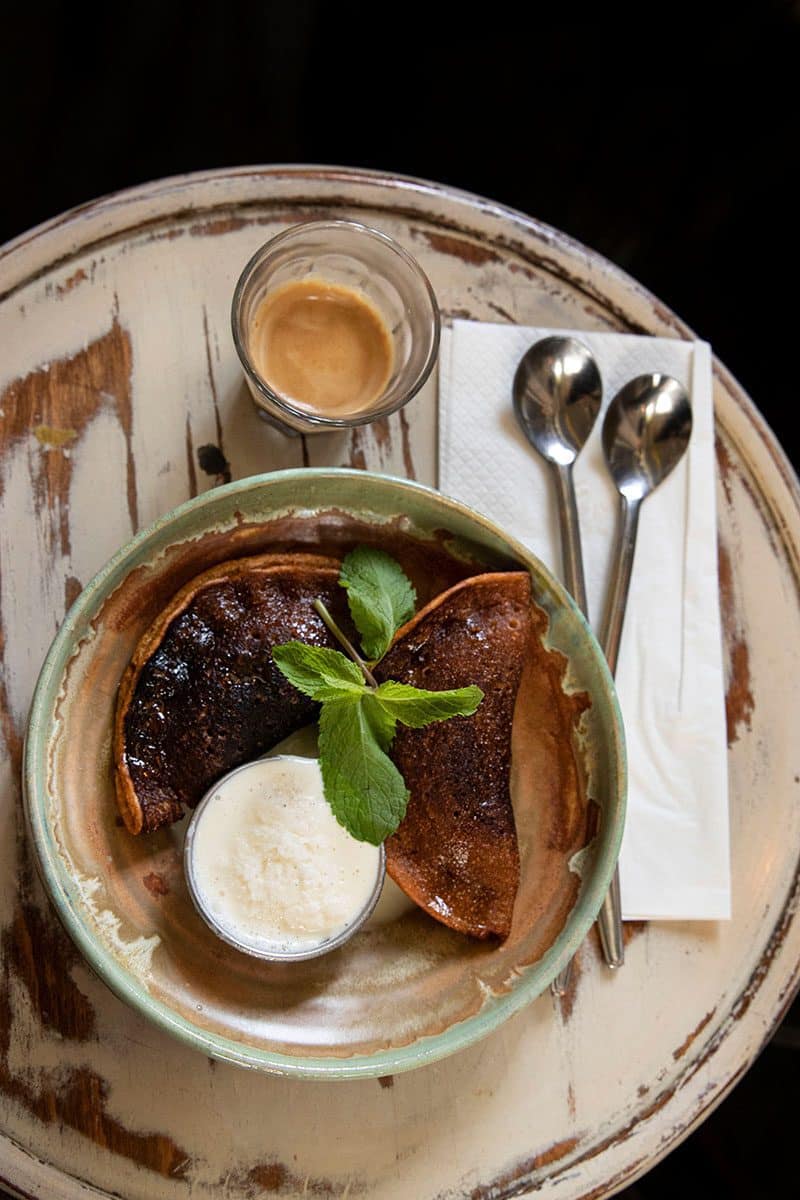
The flatlay is one of the most popular trends in food photography. Basically, it means shooting the food from above from a birds-eye perspective. Easier said than done. First, usually, you’ll need to climb on a chair to get a higher vantage point. Even then, it’s more comfortable with a mobile phone than with a professional camera unless you have special equipment like a tripod with a horizontal arm attachment. Depending on the light source, you need to watch out for shadows (even your own shadow in the pictures) with a light source from above. A few key notes to remember with flatlay photography:
- Food styling is especially important when you’re doing a flatlay. It’s best to start with one dish and add some elements around it. Be careful not to put too many items in your frame. We usually start with one item, then add two more elements and sometimes go for five elements.
- Use props like a colorful napkin, sunglasses, or forks.
- However, remember that simple is easier – the flatlay works both with a clean composition (with a single dish) and with a large spread. It will be much easier and sometimes prettier to take a minimalistic approach without any food props. Negative space can be a beautiful thing in photography.
- Use a wide lens and short focal length.
- Make sure the focus is on point. If all the elements are at the same level or height (no difference of heights between them), you can use a relatively open aperture. If there’s a difference in height, you need to close the aperture (for example f8) to make sure everything is in focus. Also, you need to be especially steady, meaning using a tripod in low light. If you’re using a hand-held camera, make sure the shutter is at least 60 (and better yet 80-100). You can bump up the ISO if you need to. Try to be as steady as possible while taking the shot.
Food Photo Tip #14 Change Your Angles
Usually, once you start photographing food, you get “stuck” in a specific composition or styling, and all your food photos look the same. Try and change the angles and your artistic choices. Take pictures from above but also from the side. Photograph your dish directly from eye level, meaning being eye-level with the food, but then take pictures from a 45-degree angle and anywhere in between.
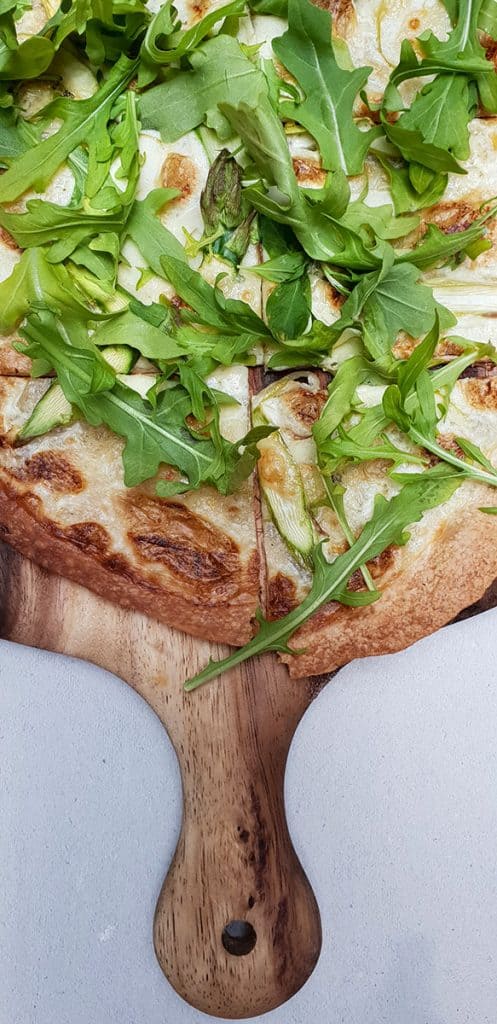
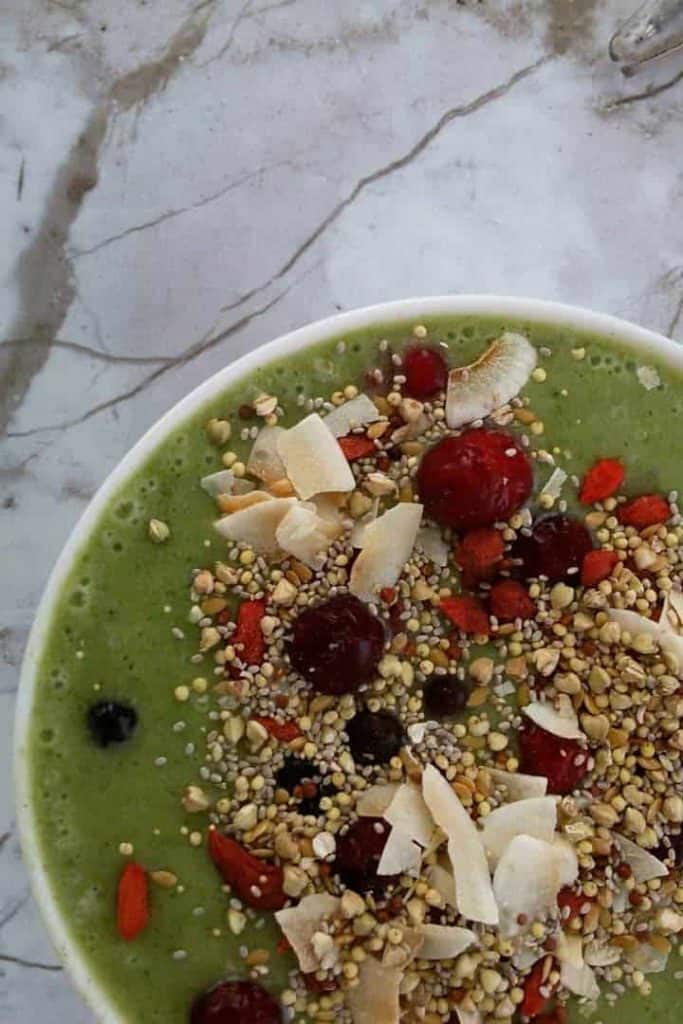
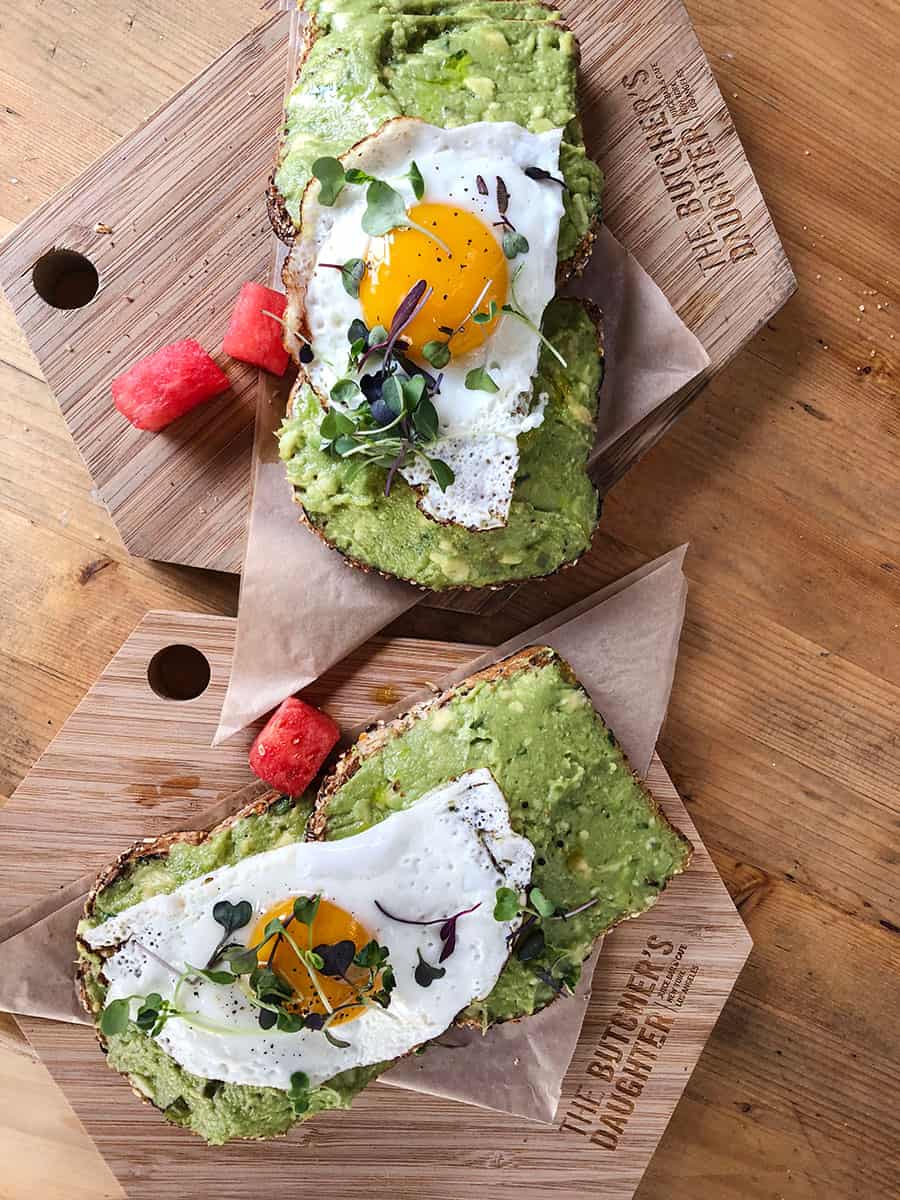
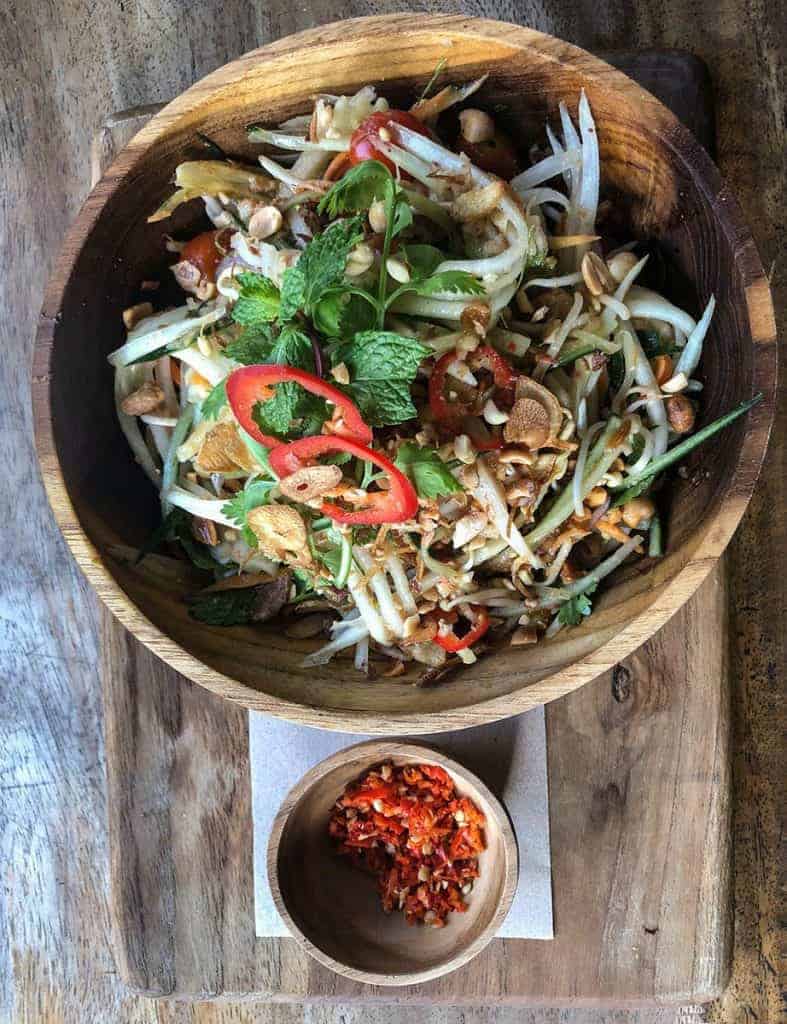
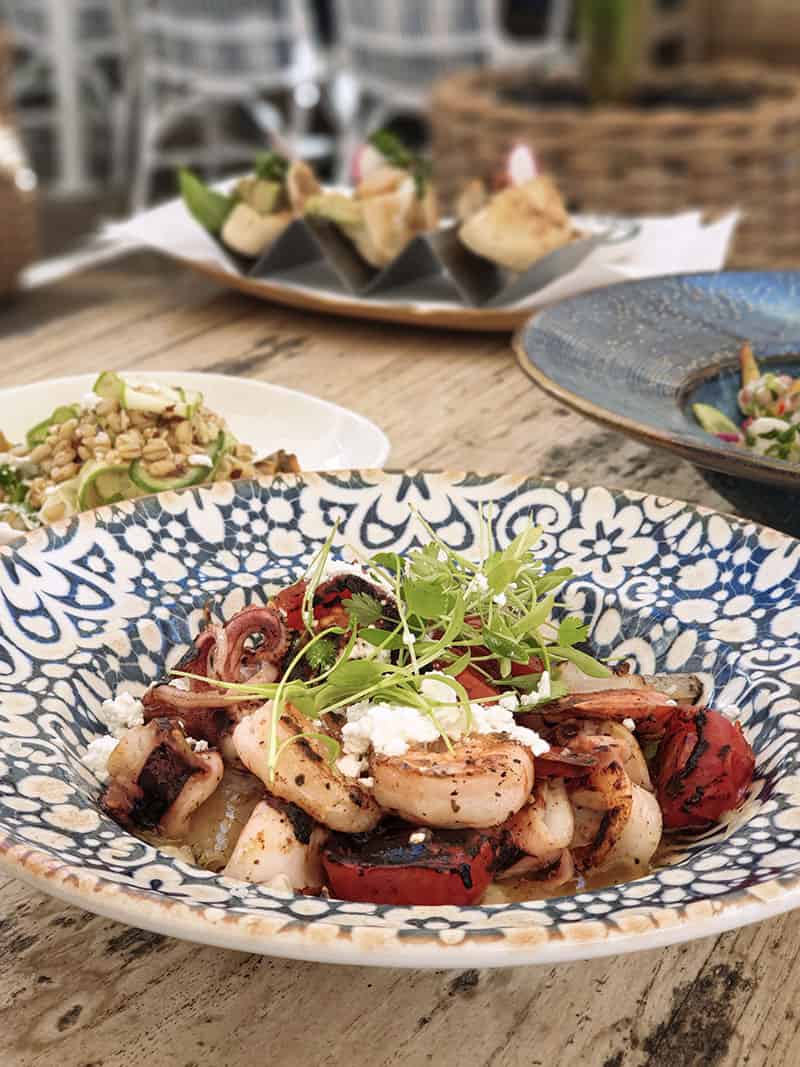
Food Photo Tip #15 Experiment with Depth of Field (DOF)
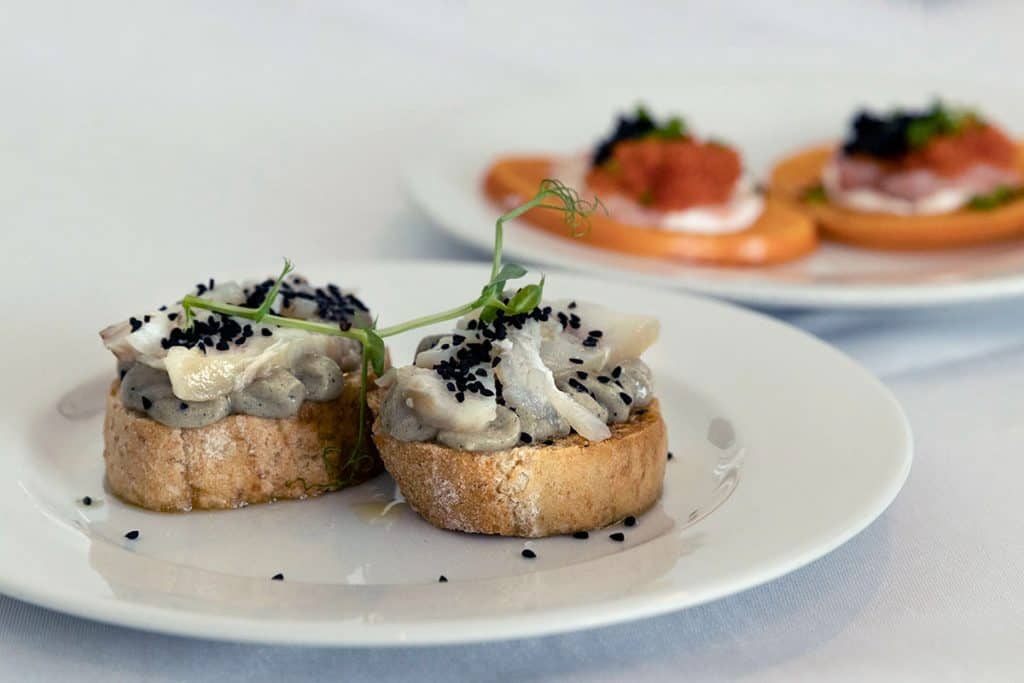
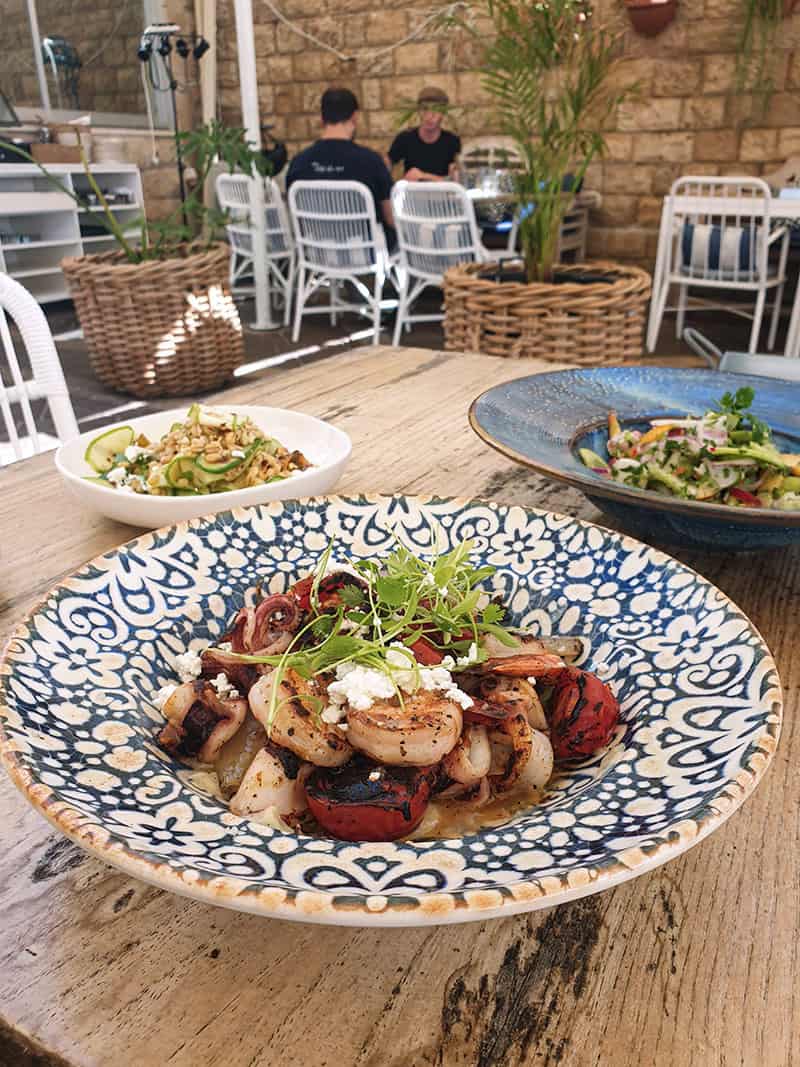
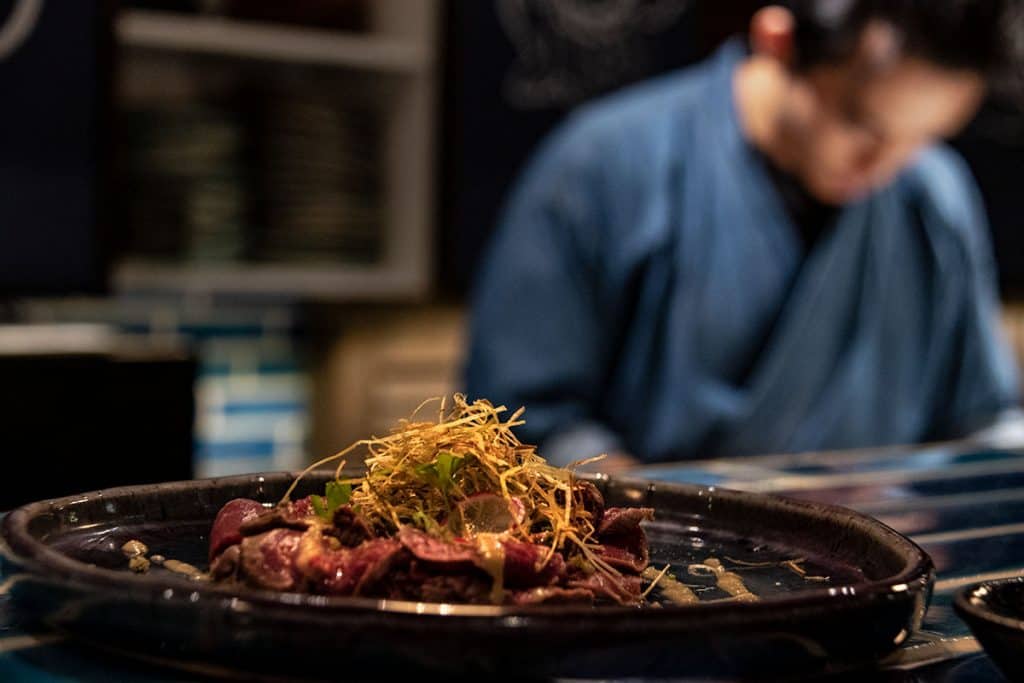
In simple terms, ‘depth of field’ refers to how blurry the background behind the subject of your image is. Use both shallow and deep DOF in your travel food photography because they serve a different purpose. With a shallow DOF you highlight the dish or one aspect of the dish (like a bite). With a deep DOF you can also show the background, atmosphere, design and space of the restaurant.
DOF is a factor of your aperture, the focal length of the lens, and the distance between your subject and the background. Generally speaking, you can achieve shallow DOF (when only the subject or part of the subject is in focus, and everything else is blurry) by:
- Opening your aperture – The smaller the number is, the larger the aperture and vice versa (for example, 2.8 is more open than 13). However, be careful with an open aperture and make sure the important parts of your subject are in focus because sometimes with an open aperture, only a small part of the dish is in focus. Meaning if you want your dish to fill the frame, most times, an open aperture will result in many blurry sections.
- Using a longer focal length – The focal length of the lens is the distance between the lens and the camera sensor when the main subject is in focus. On a zoom lens, the numbers on the zoom ring indicate your focal length. In a fixed/prime lens, there’s a fixed focal length which appears on the lens barrel. So you need to choose a higher number, such as 70 mm instead of 24 mm to achieve a more shallow DOF.
- Making sure there’s a “field” behind your subject – If you place a dish close to a wall, it will be harder or even impossible to achieve a shallow DOF. You need to have space behind your subject and the backdrop.
Important Travel Food Photography Tip –You can also control the DOF with your phone setting. Most mobiles have a special setting for food photography that helps in blurring the background. Choose FOOD or LIVE FOCUS in Samsung (with LIVE FOCUS, you can adjust the blurriness as much as you want before and AFTER you’ve taken the shot) or PORTRAIT for iPhone users. Learn more about DOF here.
Food Photo Tip #16 Shoot Both Horizontal and Vertical Images
Many food photographers prefer vertical images. However, we like to experiment with both horizontal and vertical images. Sometimes a horizontal image fits better with our blog (not to mention for a featured image).
Food Photo Tip #17 Think Outside of the Frame
Compose your photo to place part of your main subject outside of the frame. Sometimes it makes for a more interesting and artistic food photo. In addition, if you’re using other elements or food props, you can also place them partially outside of the frame.
Food Photo Tip #18 Pay Attention to the Background
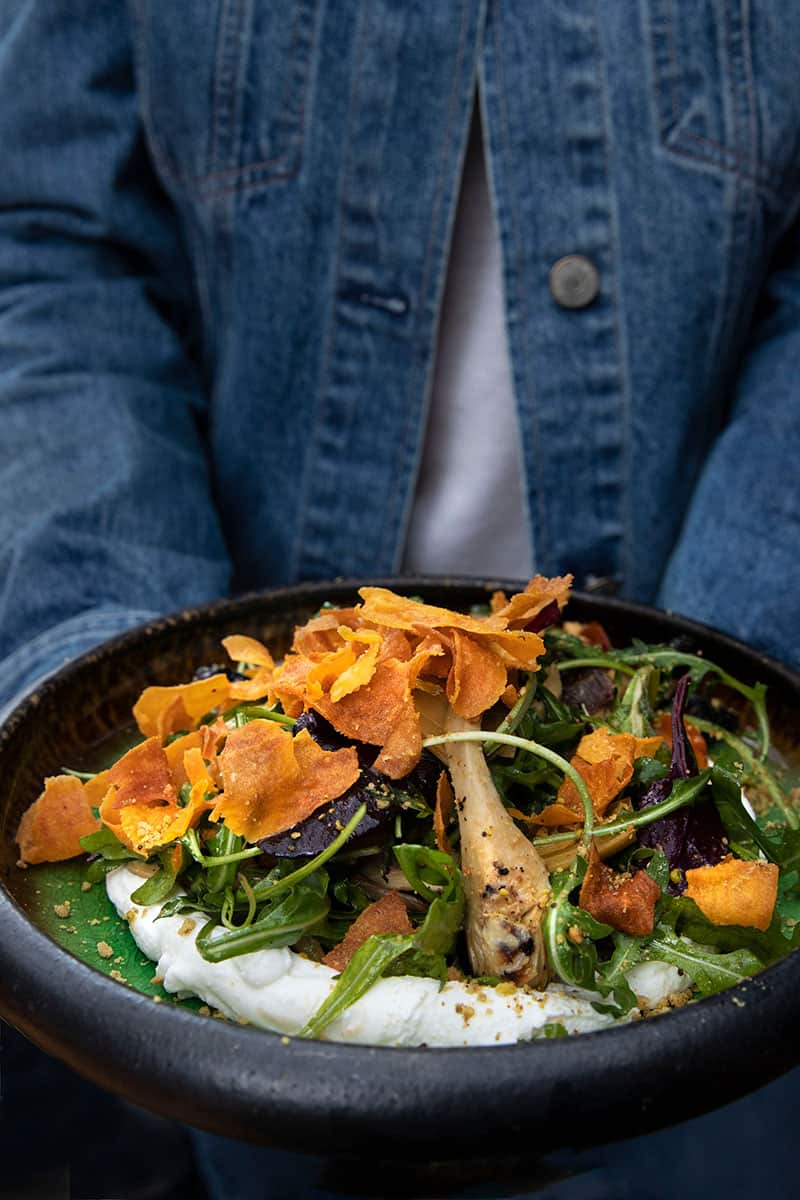
We’ve mentioned it before. You need to pay attention to the background. Showing the background can be a great way to transfer the ambiance or surroundings, so include it in your travel food photography if it is photogenic. However, even if you don’t mean to show the background, if you don’t pay attention to it, you can ruin your shot by mistake. If you face a not-so-Instagram-friendly background, change the angle of your camera, or perhaps choose a shallow DOF and open your aperture. You can also ask your friend to hold the dish, and their upper body will serve as the background. Creativity is the key to awesome food travel photos.
Food Photo Tip #19 Use Hands in Shots Carefully
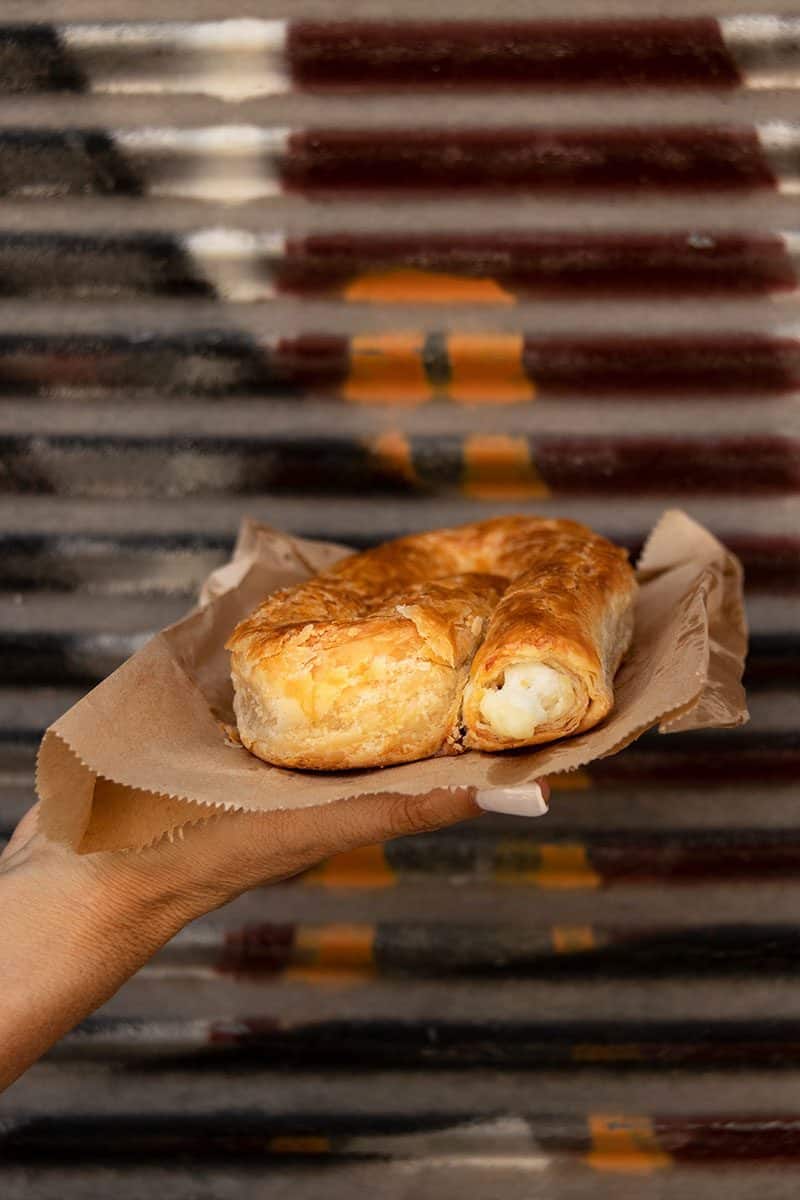
An artistic choice to include hands in your food photography can bring a picture to life and make it more dynamic. However, you need to make sure these hands are photo-ready. Make sure the nails are clean and that the hands are placed in a photogenic way. Examine your photo and take another shot while giving directions to the “hand model”.
Food Photo Tip #20 Think About Textures and Colors
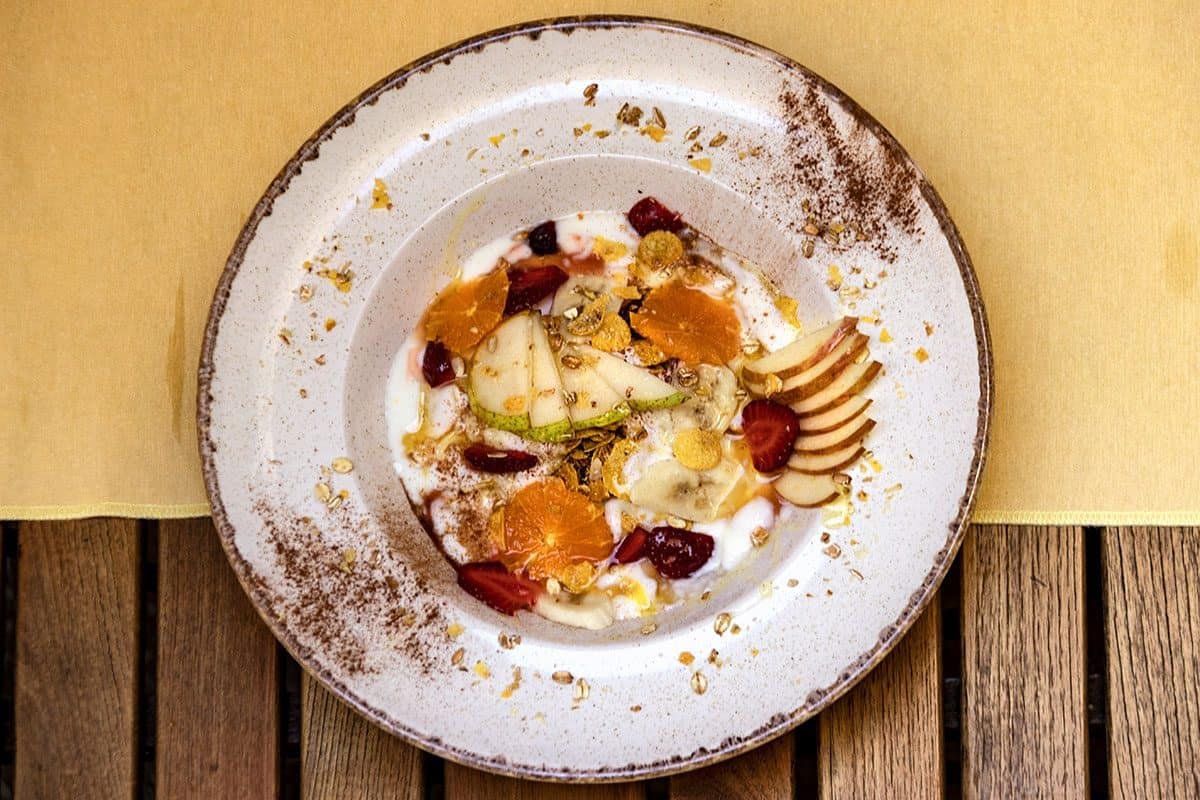
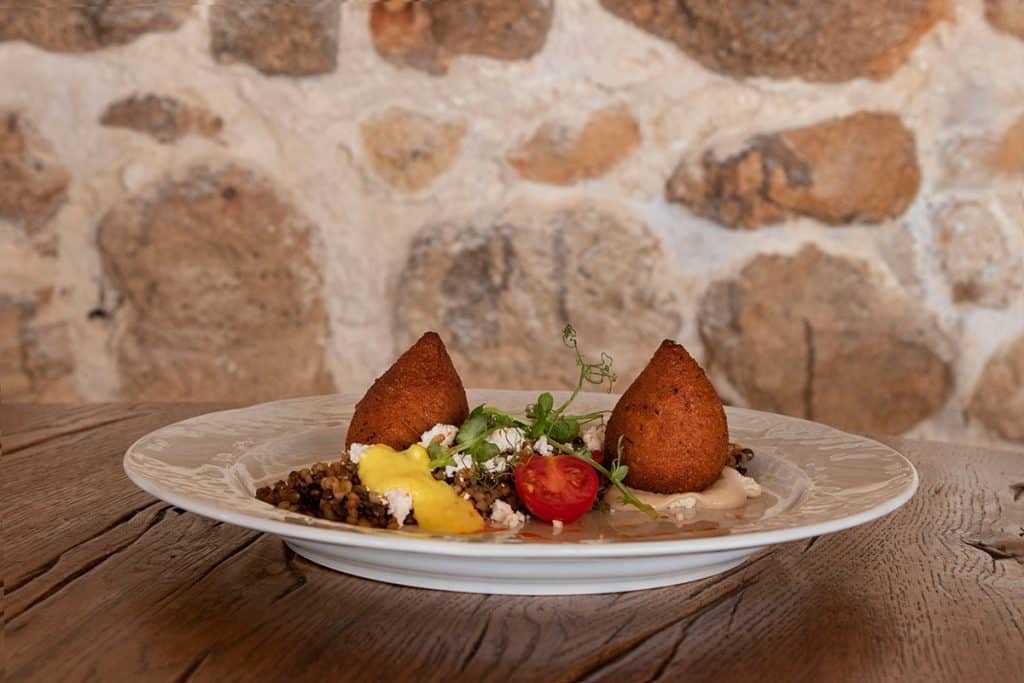
Textures and colors are both essential elements of food photography. Since we’re talking about travel food photography, there’s a lot that is out of your hands, but you can highlight the texture of your food or try to incorporate another element to bring some texture into a food photo. In terms of colors, most times, it’s better to stick to a couple of colors and try to eliminate too many colors by taking the destructive element out of the frame. You can also look for a prop that can add some color to a one-dimensional food photo.
Travel Food Photography Tip #21 Research for Inspiration
Look for inspiration on Instagram, Pinterest, or anywhere else. Many times, before we shoot traditional food, we browse through the web and pick a few shots we like. Looking for inspiration elsewhere can open up your mind and make you think of a composition you wouldn’t have tried otherwise. The easiest way to do it is to look for food bloggers you like and start following their accounts.
Travel Food Photography Tip #22 Have Fun
Don’t forget to have fun! Travelling is all about enjoying the moment, so don’t forget to put down your camera and dig into that fragrant dish before it gets cold. Especially in low-light situations, snap a few pictures with your phone if you must and eat up your food!
How to Take Your Travel Food Photography to the Next Level
Travel Food Photography Tip #23 Do Your Homework
For us, travel photography is all about showcasing the local culture through our photos. When we’re talking about travel food photography, we learn beforehand about local food traditions and the best local dishes we should include in our bucket list. We always search online for inspirational blogs that focus on culture and food traditions.
Travel Food Photography Tip #24 Go Beyond the Restaurants
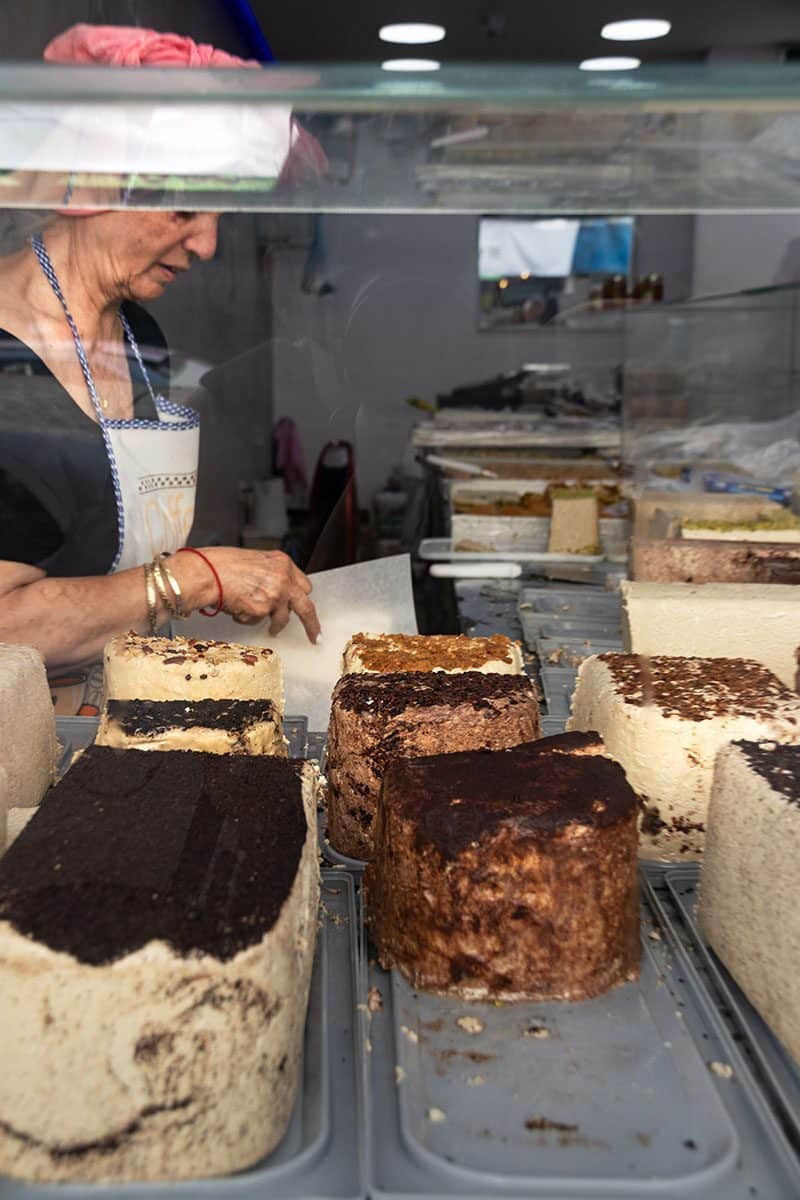
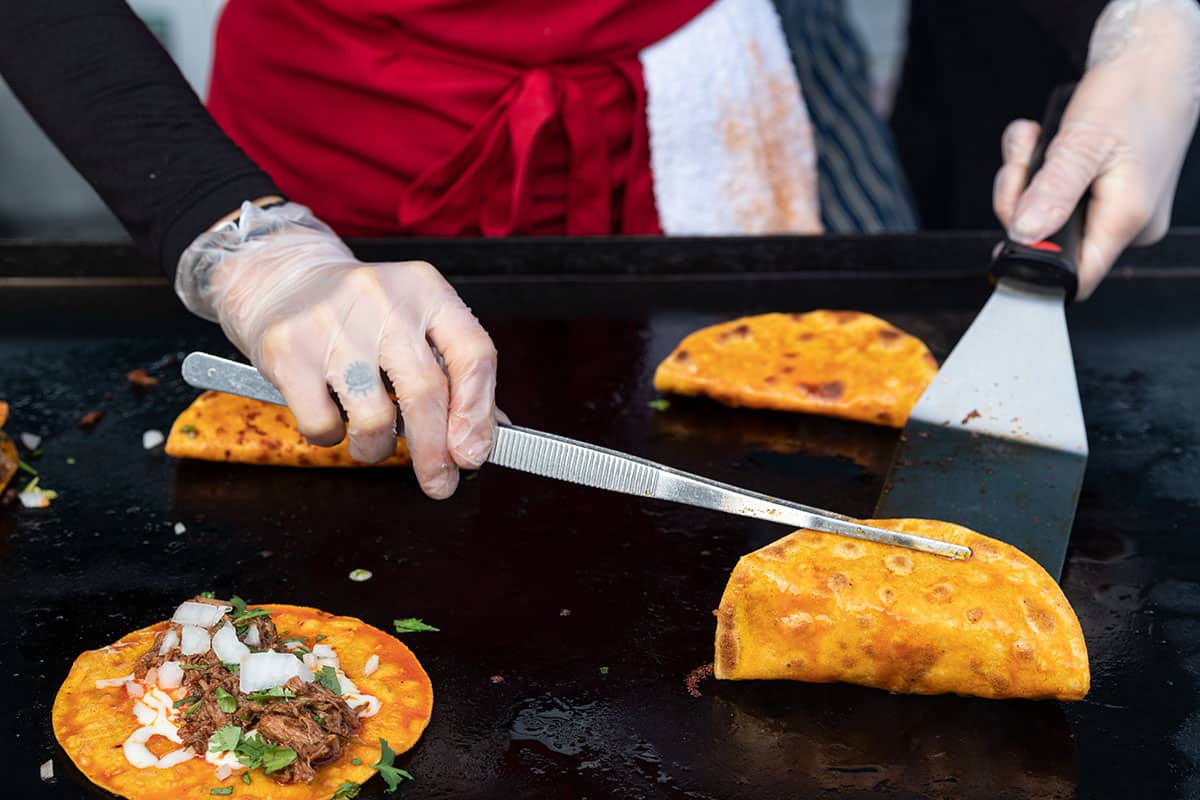
Travel food photography is not just about beautifully curated restaurant photos. Go to the local food market, take a cooking class, take pictures of traditional foods, and take some pictures of food preparation if you can. Do your homework (see tip #23) and look for such places. You can also ask your hotel, driver, guide, or just a local you meet during your travels for such recommendations.
Photography Tip #25 Think about Color-Coordinated Collages
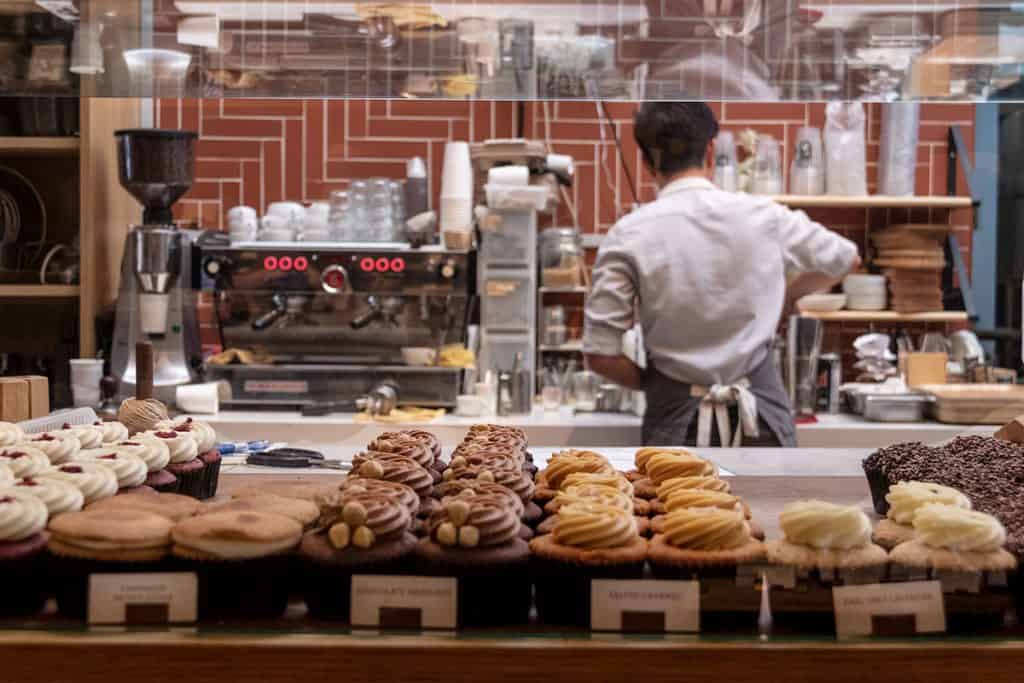
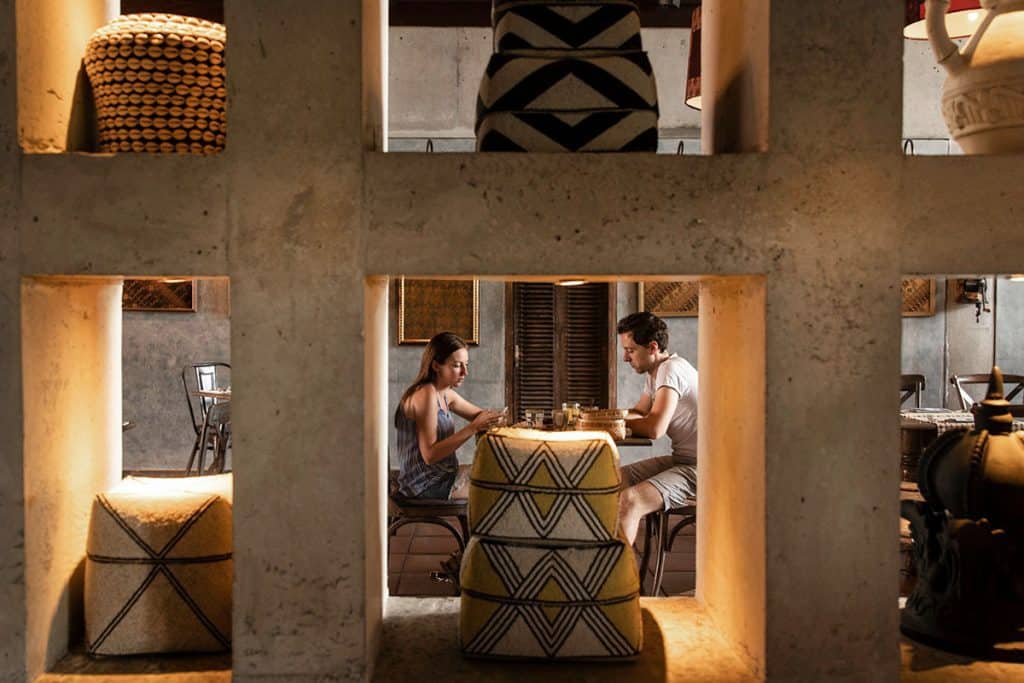
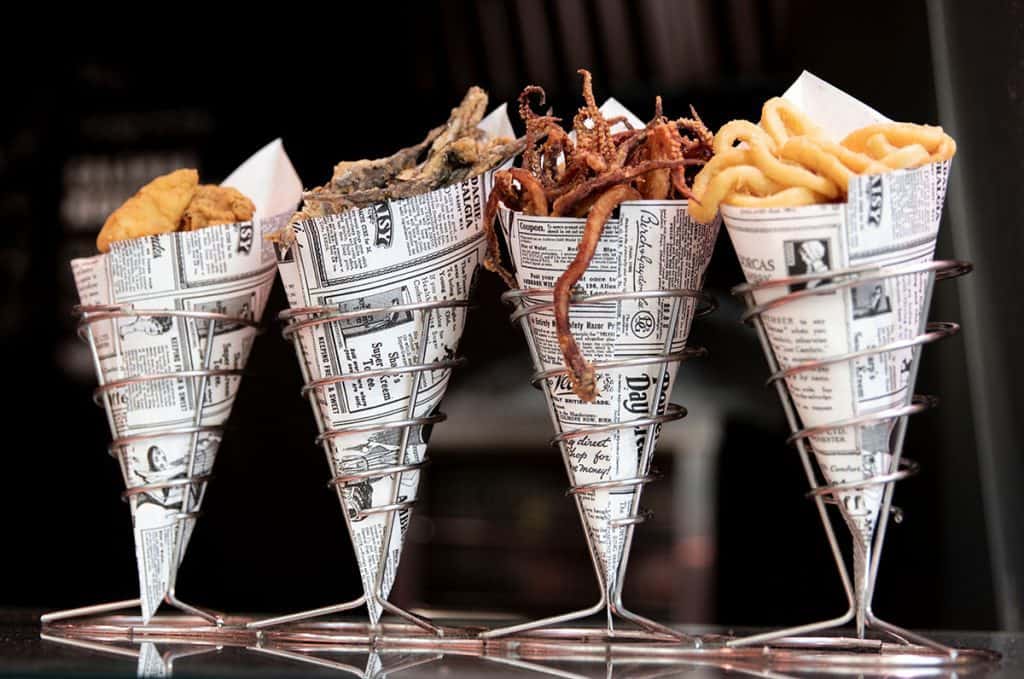
Think about the platform on which you are going to post your food travel photos. We love to create color-coordinated collages for our blog and our Instagram feed. We try to combine pictures with a similar color palette to show different aspects of the places we explore. For us, it’s not just about the food, but also about the people, scenery, architecture, landscape and more.
When you take photos of a restaurant, for example, look for photogenic corners that suit your color palette, that will look good in a collage. If you try and keep it in the back of your mind, you’ll start noticing similar colors and take pictures based on your desired color palette. Use these kinds of collages to capture the atmosphere of a restaurant or a destination. A beautiful color-coordinated collage can capture the attention of anyone who is viewing your work.
Travel Food Photography – Recommended Equipment & Props
The tips and tricks we’ve mentioned do not necessarily require any props or special equipment, but sometimes you might want to carry with you some of these:
Tripod – For low light situations, flatlays (with a horizontal arm or a center column that can be flipped upside down). Another option is to get a GorillaPod, which is definitely limiting compared to a good tripod, but it’s very easy to carry around, and it can get you a decent shot (though you’re be limited with your composition).
Reflector – Reflectors are easy to carry, and they can help you with bouncing window light to fill in shadows and bring more light into your shot. There are different sizes to choose from. We have a small-size reflector we only use to fill in the shadows.
Clean socks – Yes, clean socks. If you want to climb on a chair to take a flatlay from above, not everyone is going to be happy about it. However, using clean socks might make a restaurant owner more willing to let you take the shot from above so carry with you a pair clean socks.
Extra batteries – Always bring extra batteries with you.
Memory cards – Always carry with you at least one extra memory card.
A Comfortable Bag – Try carrying a camera and a lens with you all day long. Not to mention another lens and maybe even a tripod. A comfortable bag is the best thing you can invest in. We recommend buying a backpack that is not too big.
We hope you’ve found our Food Photography Guide for Travelers helpful. Let us know if you have any questions in the comments below. We are always on the lookout for good food photo tips so if you have any special tips, tricks or additional food photography ideas we haven’t mentioned in our photography guide, drop us a comment!
Don't forget to pin our guide for later!
Check out some of our food guides!
Top Places to Eat in Brooklyn, NY
Check our foodie guide to the trendiest neighborhoods in Brooklyn, New York. From top breakfast places to the best pizza and upscale restaurants
Where to Eat in Lisbon & Porto
Top places to eat in Portugal's Lisbon and Porto. Traditional food, cool cafes and trendiest restaurants in our favorite Portuguese cities.
Foodies Guide to Istria, Croatia
The Istrian peninsula is Croatia's hidden gem and the perfect place for foodies! Check out the top things to eat in Istria and where to find them!

So helpful!! Thank you for all the wonderful tips, I’ve just started adding more and more food to my blog and have been looking for ideas on improving my photography skills of it.
Our pleasure, Anna. So glad you’ve found our food photography guide helpful 🙂
Wow! I never knew that those instagram food photos I always see were so technical! Thanks for the tips!
Yes, most time just snapping a shot doesn’t cut out. You have to put some more thought into it if you want to have beautiful food photos. You’re welcome!
I loved reading this blog, I’m really trying to up my food photography game while travelling (half the time I forget to take pictures because I’m too excited to start eating!), so this was super helpful!
Thanks so much, Emma. We’re so glad you’ve found our food photography tips helpful. Yes, in the beginning, most time we didn’t remember we wanted to photograph the dish before eating it, but we’ve gotten better at that 😉
These are all such awesome tips that I wish I knew before, so thank you! I’ve gotten good at landscape or architecture but all of my food photos always look blah. So many tips that I’d like to try that really elevate the shot. That is if I remember to take the photo before I eat. Have messed that up some! 😁
We have the same problem, taking pictures first, eating later, but practice makes perfect 😉 So glad you’ve found this little travel food photography guide helpful!
Wow. Your food photos are pretty wonderful. Amazing tips! Thanks for sharing.
Sure thing, Lannie! Glad you’ve found these food photography tips helpful 🙂
Amazing photography! Loved reading this but now I’m hungry 😆
Sorry about that, my dear. Can you imagine how many pounds I’ve gained just by writing this travel food photography guide?!!!
This is so incredibly helpful. I like to take food photos while I’m traveling for my blog but always find I take close ups to eliminate background rather than working with it. This gives me some great ideas for the future
The easiest thing is to eliminate the background but sometimes the background can definitely contribute to the picture. Glad you like our food photography guide 🙂
These are such great tips! I will admit though, the hardest is to not dive straight into the food when it arrives, I often forget I want to take a picture and only remember when it’s halfway finished 😛
Yep, been there, done that (almost no food photos in our older posts 🙂 ) But we did get better at getting the picture first and digging in later.
Thanks for this very informative blog. Food photos are a totalllllyy different thing than regular travel photos & you explain that so thoroughly.
Thanks, Shelley, we’re so glad we could help!
This is a great post. I definitely feel like I’m some foodie when taking photos of food, and then look back at them like, yeah…this isn’t the best pic! The idea of color-coordinating in even just a set of a few pics is such a fun idea!
Color coordinating your feed/blog/pictures makes such a huge difference! Try some of our food photography tips, you’ll surely notice a difference 😉
Thanks for the helpful tips! I am currently working on reminding myself to always follow tip #16 – take horizontal and vertical pictures! Before I started blogging vertical photos were my go-to for Instagram and social sharing. Now I am always reminding myself to try to get both for more flexibility with using the pictures in the future. Thanks, again!
Yes, we need a reminder from time to time as well. So glad you like our photography tips, Courtney!
Thank you for sharing these tips! I love photography and I always love taking photos of my food when travelling.
So glad you’ve found our guide useful!
Love these photos and all the tips that you have put together for this article. Extremely useful. And yes, I find food travel photography as super difficult as well. You certainly have much less time to take them, plus most of the times I am super hungry so I end up eating everything super quick. Always go back and realize that I have not taken any food photos 🙂
Glad you love our photos and food photography tips, Polly. In the beginning, we always ate first and then regretted not taking the picture, but we’ve gotten better at that. Hence tip #1 Shoot before you eat 😉
Such a unique and brilliant idea for a blog post! This will totally come in handy, pinned for my foodie travels in the future!
Foodie travels sounds awesome, can we join you? 😉
Wow, so many incredible tips!!! Thank you so much for sharing these. Your photos are amazing 🙂
Thank you so much, Lauren. Glad you like our food photography tips 🙂
Wow, your travel food photography is stunning! I’ve always loved taking photos of food while traveling but I’ve found food photography to be some of the most difficult things to do. Thank you so much for these tips, I’ll definitely save them!
Thanks so much! Taking beautiful food photos while traveling is no easy task but it can be done! Glad we could help!
These tips are fantastic, food photography is something I really struggle with and I found this so useful. I particularly like your point about texture and colours, this is something I haven’t given much thought to before. x
Thank you, Portia. We’re thrilled you’ve found this travel photography guide helpful and that you love our food photos 🙂 Texture and colors can certainly contribute to taking a stunning photo of a dish.
Such a thorough post – thank you! Your photos are an inspiration. I will be trying out lots of your suggestions at my next meal!
Thanks so much, Amanda. So glad you’ve found our food photography guide helpful 🙂
Very informative and detailed guide on food photography. Often times, as you say, we completely forget to capture the food, and directly delve into it and gobble them up. Only half way though we realise we never took a picture of it!
Thanks, Anuradha. We’ve gotten better at remembering to shoot first and eat later 😉
These are amazing tips! Food photography is probably the hardest for me. I think it’s really all about the lighting and the angle!
Yes, lots of technical stuff and also some creativity! It was very challenging for us as well, but practice makes perfect 😉
Since I am an entrepreneur of an editing company, I would say editing is very important to make food photography more attractive. In this case, what is the opinion?
Sure thing, we totally agree, that’s why we included it in this guide 😉
You are so right about using natural light for food photography. It worked great when we tried.
Glad it was helpful 🙂